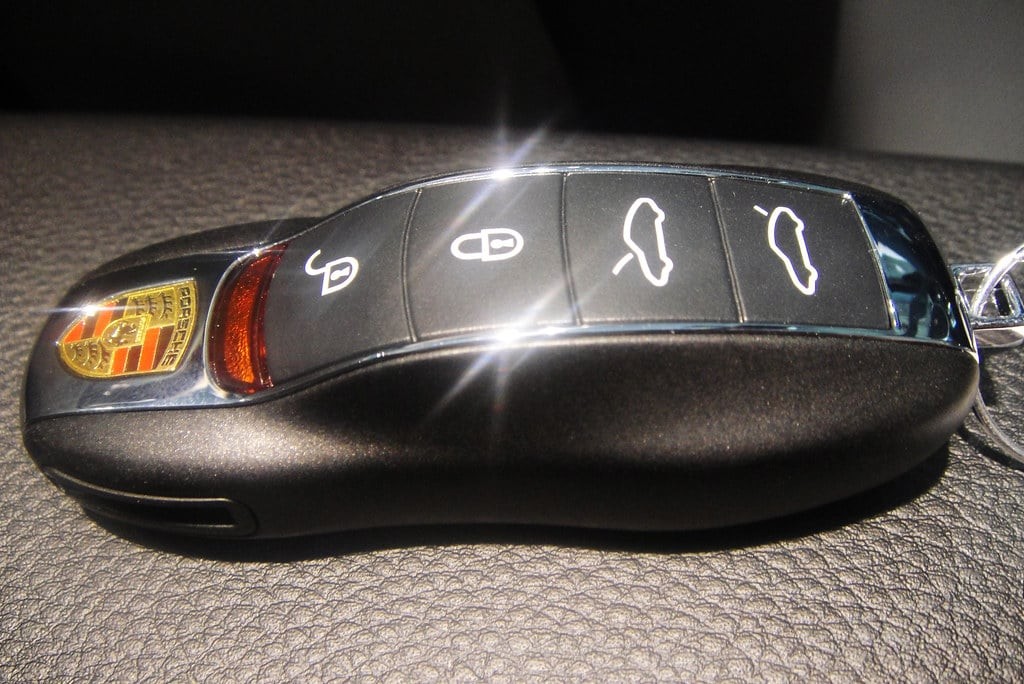
Car remotes, or key fobs, have become indispensable for modern vehicle owners. They offer convenient access to our cars, controlling everything from door locks and alarms to remote engine start. However, like any electronic device, car remotes can malfunction, get lost, or simply need replacing. Whether you’re dealing with a dead fob or installing a new one, understanding how to replace and program your car remote is a valuable skill. This guide will walk you through the essential steps to replace and program your car remote, ensuring you regain seamless access to your vehicle.
While the process might seem daunting, programming a car remote can often be done at home without the need for a professional. However, it’s crucial to understand that specific procedures can vary significantly depending on your car’s make, model, and year. Always consult your vehicle’s owner’s manual for the most accurate and manufacturer-recommended instructions.
Let’s break down the general steps involved in programming a car remote.
 Car Key Fob Programming
Step 1: Preparation is Key
Before you begin, ensure you are inside your vehicle with all doors completely closed. You’ll need your new car remote (if you are replacing one), and your ignition key. It’s also highly recommended to have your car’s owner’s manual at hand, either in print or digitally, as it will contain specific programming instructions for your vehicle.
Step 2: Initiate the Ignition Cycle
Insert your ignition key into the ignition. Turn the key to the “ON” position. This is the position just before you would crank the engine to start. Do not start the engine. The goal here is to power up your car’s electrical system without engaging the starter motor.
Step 3: Engage the Lock Button on Your Remote
Once the ignition is in the “ON” position, take your car remote and press the “lock” button. Make sure to aim the remote towards the receiver in your car. The receiver’s location can vary, but it’s often situated in the front of the car, near the rearview mirror. Press and hold the “lock” button for a few seconds as you activate the remote’s signal.
Step 4: Turn Off the Ignition and Repeat for Additional Remotes
After pressing the “lock” button, quickly turn the ignition key back to the “OFF” position, effectively shutting off the car’s accessory power. Timing is important in this step. Once you’ve turned off the ignition, the car’s system should be in programming mode for a brief period. If you have multiple remotes to program, this is the time to repeat the process for each one, immediately following the previous remote.
It’s important to program all your remotes at the same time because in many car models, initiating the programming sequence will erase previously programmed remotes. Therefore, if you only program one new remote and don’t reprogram your existing ones, the old remotes may no longer work. Act swiftly and program all remotes you intend to use in succession during this step.
Step 5: Test the Programming
After you have completed the programming steps for all your remotes, it’s time to test if the process was successful. Turn the ignition to the “ON” position again (without starting the engine), and press the “lock” button on each remote. Listen for the sound of the car locks engaging. This audible confirmation usually indicates that the remote has been successfully programmed. Test all the buttons on each remote to ensure full functionality, including lock, unlock, trunk release, and panic button if applicable.
Important Considerations and Troubleshooting
While these steps provide a general guideline, remember that the exact procedure can differ between car manufacturers and even models within the same brand. If these general steps don’t work, your owner’s manual is your best resource for specific instructions.
Here are some additional tips and troubleshooting points to consider:
- Consult Your Owner’s Manual: This cannot be stressed enough. Your manual is tailored to your specific vehicle and will provide the most accurate programming steps.
- Battery Check: Ensure the batteries in your new remote are fresh and correctly installed. A weak battery can hinder the programming process.
- Synchronization Issues: If the programming fails initially, try repeating the entire process again, paying close attention to the timing and ensuring you are quick between steps.
- Dealer or Locksmith Assistance: If you are unable to program your remote after several attempts, or if you encounter issues like a lost or damaged ignition key, it might be necessary to seek professional help. Automotive locksmiths or car dealerships have specialized tools and expertise to handle more complex programming situations and key replacements.
In Conclusion
Replacing and programming a car remote doesn’t have to be a complicated ordeal. By following these general steps and, most importantly, consulting your vehicle’s owner’s manual for model-specific instructions, you can often handle this task yourself. However, don’t hesitate to contact a qualified auto locksmith if you encounter difficulties or need assistance with key replacement or more advanced programming needs. Regaining control of your car’s remote functions will restore convenience and security to your daily driving experience.