Car keys have evolved significantly, and modern vehicles often utilize key fobs or electronic car keys. These devices are incredibly convenient, allowing you to control your car’s doors, alarm system, trunk, and even start the engine remotely. However, like any electronic device, key fobs can sometimes malfunction or lose their programming over time. Fortunately, in many cases, you can reprogram your replacement car key yourself, potentially saving time and money compared to visiting a dealership or auto locksmith. This guide will walk you through the general steps involved in how to program a replacement car key, ensuring you can get back on the road quickly.
It’s crucial to understand that the exact procedure for programming a replacement car key can vary significantly depending on your car’s make, model, and year. Therefore, before attempting any reprogramming, always consult your vehicle’s owner’s manual. This manual is your most reliable resource and will provide the precise, manufacturer-recommended steps for your specific vehicle. You can often find a digital version of your owner’s manual on the manufacturer’s website if you no longer have the physical copy.
While the specific steps differ, a general process exists that applies to many vehicles. Here’s a step-by-step guide to give you an overview of how to program a replacement car key.
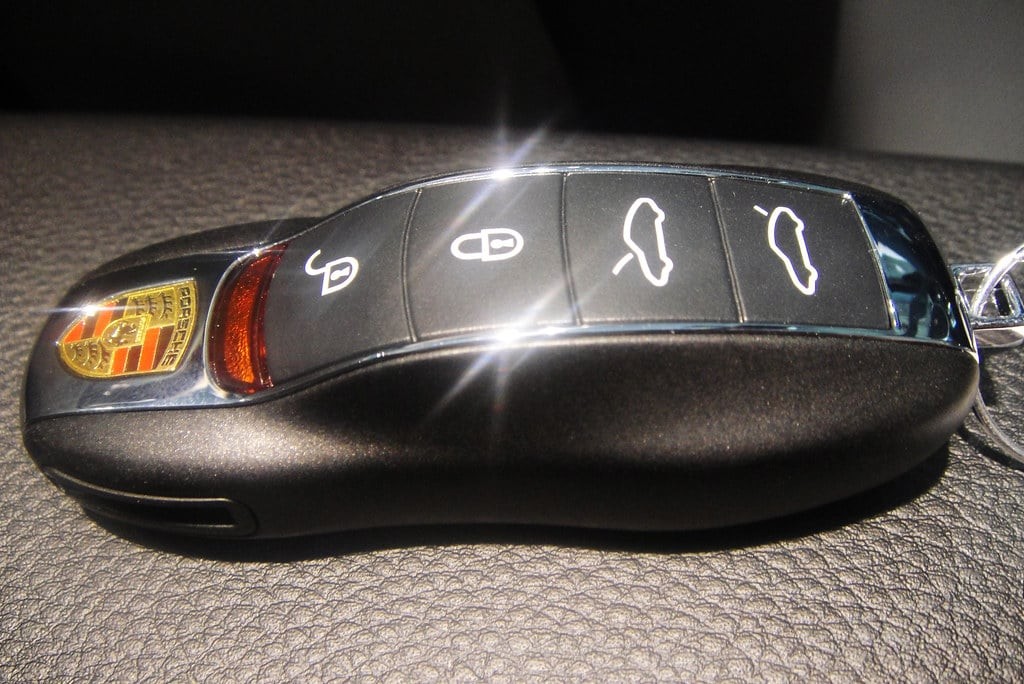 Programming a car key fob
Step 1: Prepare for Programming
Before you begin, ensure you have everything you need. This typically includes:
- Your Replacement Car Key Fob: Make sure it’s compatible with your vehicle’s make and model.
- Your Original, Working Key (if available): Some programming methods require an existing working key.
- Your Vehicle’s Owner’s Manual: This is essential for vehicle-specific instructions.
- Access to your Vehicle: You’ll need to be inside your car to perform the programming steps. Ensure all doors are closed.
Step 2: Turn on the Ignition (Without Starting the Engine)
Get into the driver’s seat and close all doors. Insert your car key into the ignition. Turn the key to the “ON” position. This position is usually just before the point where you would start the engine. You should see the dashboard lights illuminate. Do not start the engine. Leave the key in this “ON” position for a few seconds, as indicated in your owner’s manual, if specified.
Step 3: Press the Lock Button on the Key Fob
Take your replacement car key fob and aim it at the dashboard or a specific area indicated in your owner’s manual (often near the rearview mirror where the receiver is located). Press and hold the “lock” button on the key fob for a few seconds. You might need to press it multiple times, or in combination with other buttons, depending on your car model. Refer to your manual for the exact button sequence and duration.
Step 4: Turn Off the Ignition and Test
Turn the ignition key back to the “OFF” position and remove it from the ignition. At this point, some vehicles might require you to repeat steps 2 and 3 for any additional key fobs you want to program. It’s often necessary to program all key fobs at the same time because the system might erase previously programmed fobs when a new one is being added. Act quickly between programming each key fob to avoid the system exiting programming mode.
After completing the programming steps, test your newly programmed replacement car key. Press the lock and unlock buttons to see if they control the car doors. Also, try starting your car with the replacement key to ensure the transponder chip (if your key has one) is correctly programmed and recognized by your vehicle’s immobilizer system.
Step 5: Verify Programming Success
Listen for an audible confirmation from your car, such as the door locks clicking or the horn briefly honking, which can indicate successful programming. Test all functions of the key fob, including remote start (if applicable), trunk release, and panic button, to ensure everything is working correctly. If the programming is unsuccessful, carefully review your owner’s manual and repeat the steps, paying close attention to timing and button sequences.
Important Considerations:
- Vehicle-Specific Procedures: As emphasized, the steps outlined above are a general guide. Always prioritize the specific instructions in your vehicle’s owner’s manual.
- Transponder Keys: Many modern car keys contain a transponder chip that needs to be programmed to communicate with the car’s immobilizer system. The process described here often covers both the key fob remote functions and the transponder chip programming.
- Dealer or Locksmith Programming: If you are unable to program your replacement car key using the owner’s manual instructions, or if your vehicle requires specialized programming equipment, you may need to visit a qualified car dealership or a professional auto locksmith. They have the tools and expertise to program keys for virtually all makes and models.
- Emergency Situations: If you’re locked out of your car and need a replacement key programmed urgently, contacting an auto locksmith is usually the quickest solution.
In Conclusion:
Programming a replacement car key can be a straightforward process for many vehicles, especially key fobs controlling door locks and basic functions. By carefully following the steps in your owner’s manual and being attentive to detail, you can often successfully program your replacement key yourself. However, remember that vehicle-specific procedures vary, and for complex systems or persistent issues, seeking professional help from a dealership or auto locksmith is recommended to ensure proper and secure car key programming.