Losing your car alarm remote can be a frustrating experience, especially when it immobilizes your vehicle. Many modern car alarm systems, like the Karr alarm model 2040 mentioned, incorporate an ignition kill feature that activates when the battery is disconnected or if the alarm is triggered and not disarmed. This means without a working remote, you might find yourself unable to start your car. Fortunately, programming a replacement car alarm remote is often a straightforward process you can do yourself, saving you time and money compared to dealership or professional services. This guide will walk you through the general steps and considerations for programming a new remote to your car’s alarm system.
Understanding Your Car Alarm System and Remote
Before you attempt to program a replacement remote, it’s helpful to understand the basics of your car’s alarm system. Most aftermarket car alarms, and even many factory-installed systems, rely on radio frequency (RF) signals transmitted from the remote to the alarm control module in your vehicle. This module, upon receiving the correct signal, will arm or disarm the system, lock or unlock doors, and potentially activate other features like remote start or panic alarms.
Replacement remotes need to be compatible with your specific car alarm system. This means they need to operate on the same frequency and use the same programming protocol. Often, the model number of your alarm system (if it’s aftermarket, like the Karr 2040) will be crucial in finding a compatible replacement. For factory systems, you might need to consult your owner’s manual or a dealership.
Steps to Program a Replacement Car Alarm Remote
While the exact procedure can vary depending on the make and model of your car alarm system, a common method involves using a valet or programming button. This button is often discreetly located, sometimes near the alarm’s indicator light or under the dashboard. Here are general steps based on the user’s experience with a Karr alarm and common programming practices:
-
Locate the Valet/Programming Button: As the original post mentions for the Karr 2040, this button might be on the “backside of the blinking light.” Check your car alarm’s owner’s manual or search online for the specific location of the valet button for your system. Sometimes it’s a small, recessed button.
-
Prepare Your Vehicle: Ensure your vehicle is turned off. You may need to open the driver’s side door, as indicated in the original post’s bypass method (“Open door”).
-
Turn the Ignition to the “ON” Position: Insert your key into the ignition and turn it to the “ON” position. Do not start the engine. This activates the car’s electrical system and allows the alarm system to enter programming mode.
-
Press and Hold the Valet/Programming Button: Immediately after turning the ignition to “ON,” locate and press and hold the valet button. Hold it down for a few seconds. The original post mentions “Press the programming(valet) button down for a few seconds.” You might hear a chime or see the alarm’s indicator light behave differently (e.g., flash rapidly) to signal that the system has entered programming mode.
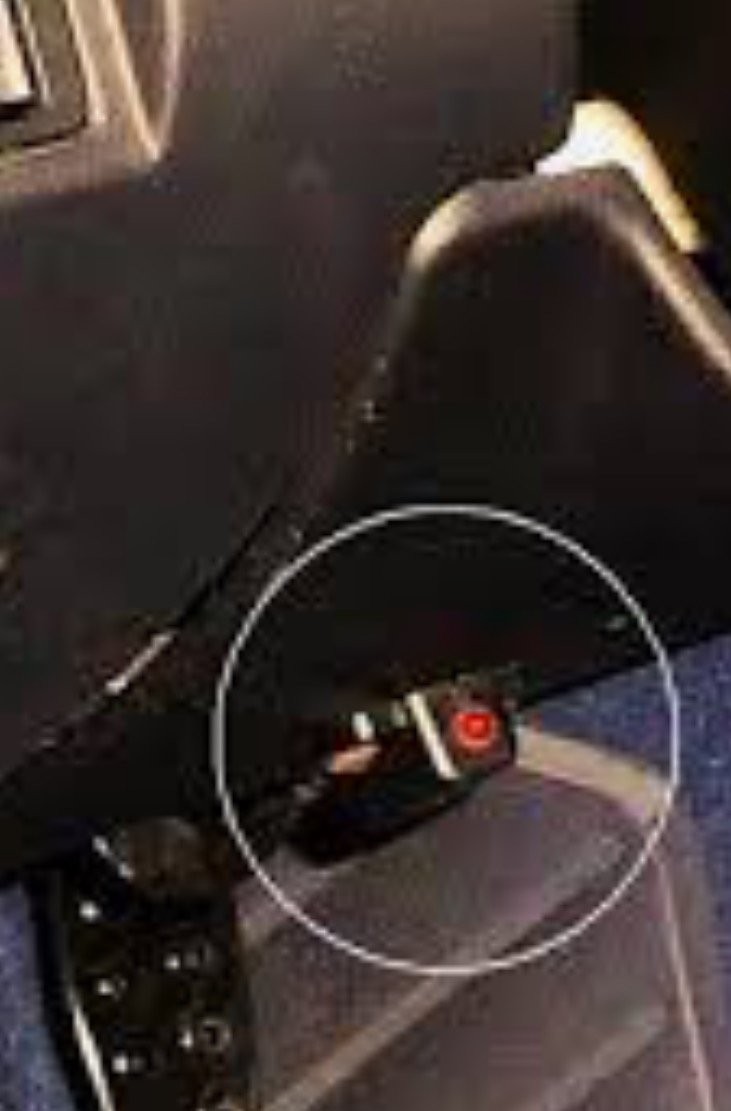 Karr alarm valet button location
-
Press a Button on the New Remote: While still holding the valet button (or shortly after releasing it, depending on the system – consult your manual if available), press a button on your new replacement remote. This transmits the remote’s code to the alarm system.
-
System Confirmation: The alarm system should confirm that it has learned the new remote’s code. This confirmation might be in the form of a beep, a flash of the parking lights, or a change in the indicator light pattern.
-
Test the Remote: Turn the ignition off and test the new remote by pressing the lock and unlock buttons to ensure it’s working correctly.
-
Repeat for Additional Remotes (if needed): If you have multiple remotes to program, repeat steps 5-7 for each additional remote within a short timeframe, as the system may only stay in programming mode for a limited period.
What If the Valet Button Method Doesn’t Work?
If the valet button method doesn’t program your replacement remote, there are other possibilities:
- Incorrect Procedure: Double-check your car alarm’s manual or online resources for the specific programming procedure for your system. Small variations in timing or button presses can make a difference.
- Incorrect Remote: Ensure the replacement remote is indeed compatible with your car alarm system’s make and model. Using an incompatible remote will prevent successful programming.
- System Limitations: Some advanced car alarm systems may require professional programming with specialized tools. This is less common for basic aftermarket alarms but can be the case for more sophisticated or factory-integrated systems.
- Alarm System Issues: In rare cases, if the alarm system itself has a malfunction, it might not be able to enter programming mode or learn new remotes.
In these situations, consider consulting a professional car alarm installer or a qualified automotive locksmith. They will have the expertise and tools to diagnose the issue and program your replacement remote or recommend alternative solutions.
Conclusion
Programming a replacement car alarm remote can often be done at home using the valet button method, as demonstrated by the user’s successful bypass solution for the Karr 2040 alarm. By understanding the basics of your car alarm system and following the correct programming steps, you can regain convenient remote access to your vehicle’s security features. Always prioritize consulting your car alarm system’s manual for the most accurate and specific programming instructions for your particular model.