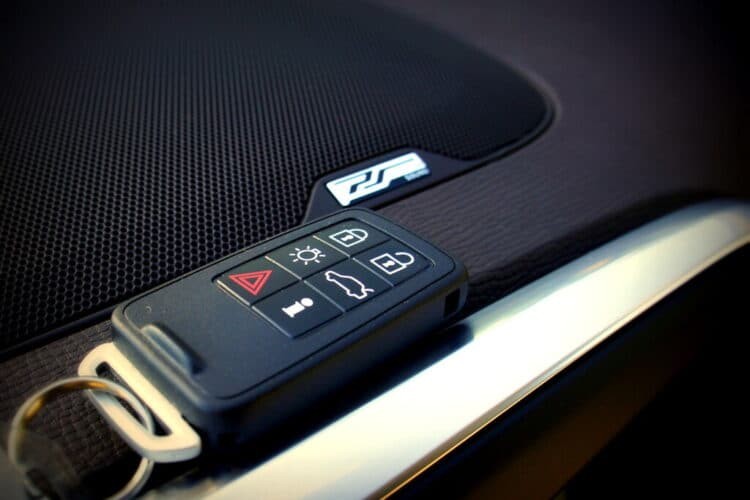
Car remotes, or key fobs, are indispensable for modern vehicle owners. They offer convenient access to your car, controlling everything from door locks and alarms to remote starting. However, these electronic devices can sometimes lose their programming due to battery changes, malfunctions, or the need to replace a lost or damaged fob. Instead of immediately seeking professional help from an auto locksmith, you can often reprogram your car remote yourself. This guide provides a general step-by-step process to help you understand How To Program New Car Remotes, potentially saving you time and money.
Before diving into the programming steps, it’s crucial to understand that the exact procedure can vary significantly depending on your car’s make, model, and year. While the following steps offer a general approach that works for many vehicles, always prioritize consulting your vehicle’s owner’s manual. This manual is your most reliable resource for specific instructions tailored to your car. You can usually find a physical copy with your car documents or search for a digital version online by entering your car’s year, make, and model followed by “owner’s manual”.
Understanding Car Remote Programming Basics
Car remote programming involves syncing your key fob’s unique electronic signal with your car’s onboard computer system. This system recognizes the fob’s signal and allows it to control various vehicle functions. Reprogramming is necessary when this connection is lost or when introducing a new remote to the system.
While specific steps differ, many car manufacturers utilize a similar process that involves manipulating the ignition and pressing buttons on the key fob in a specific sequence. This sequence puts the car into a “programming mode,” allowing it to learn the new remote’s signal.
General Steps to Program a Car Remote
The following steps outline a common method for programming car remotes. Remember to always refer to your vehicle’s manual for the most accurate instructions.
STEP 1: Prepare and Enter Programming Mode
Sit in the driver’s seat with all doors closed. Have your ignition key and the new key fob ready. Insert your ignition key into the ignition switch. Turn the key to the “ON” position. This is the position right before you would crank the engine to start the car. Do not start the engine. The purpose is simply to power the car’s electronics.
STEP 2: Initiate the Programming Sequence with the Fob
Locate the “lock” button on your new key fob. Point the fob towards the front of the car, often in the direction of the rearview mirror where the car’s receiver is typically located. Press and hold the “lock” button on the key fob for a few seconds. This action sends a signal to the car’s receiver, initiating the programming sequence.
STEP 3: Exit and Reset Ignition
Turn the ignition key back to the “OFF” position immediately after pressing the lock button for the specified duration (usually a few seconds, check your manual). Remove the key from the ignition. This action signals the car to exit the programming initiation phase and prepare to learn the new remote code. Acting quickly in this step is important for the process to work correctly.
STEP 4: Program Additional Remotes (If Necessary)
If you have multiple key fobs to program, repeat steps 2 and 3 immediately for each additional fob. Most car systems are designed to clear the memory of previously programmed remotes when a new one is added. Therefore, you need to reprogram all your remotes in one session to ensure they all function correctly. Work quickly and efficiently between programming each fob to avoid timing out the programming mode.
STEP 5: Test the Remote Programming
After programming all your desired key fobs, re-enter the car and turn the ignition to the “ON” position again (without starting the engine). Press the “lock” button on each key fob to test if the programming was successful. You should hear the car locks engage and disengage, indicating that the fob is now correctly programmed and communicating with your vehicle. Test all buttons on each fob to ensure full functionality.
Important Considerations and Troubleshooting
-
Consult Your Owner’s Manual: As emphasized earlier, your vehicle’s owner’s manual is the definitive guide for programming your specific car remote. Always refer to it for precise instructions and any model-specific nuances.
-
Timing is Key: Many car remote programming procedures are time-sensitive. Ensure you perform the steps quickly and without significant delays between actions, especially when switching between remotes.
-
Programming Mode Limitations: Some car models might require repeating the programming cycle or performing specific sequences multiple times to successfully enter programming mode. If the initial attempt fails, carefully review your manual and try again, paying close attention to timing and button presses.
-
Professional Assistance: If you encounter difficulties or are unsure about any step, don’t hesitate to contact a certified auto locksmith or your car dealership. They have the expertise and tools to diagnose and resolve any programming issues, especially for more complex or newer vehicle models.
By understanding the general process and carefully following the instructions specific to your car, you can often successfully program new car remotes yourself. This DIY approach empowers you to maintain control over your vehicle’s security and convenience features while potentially saving on service costs.