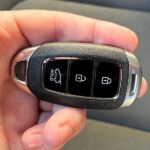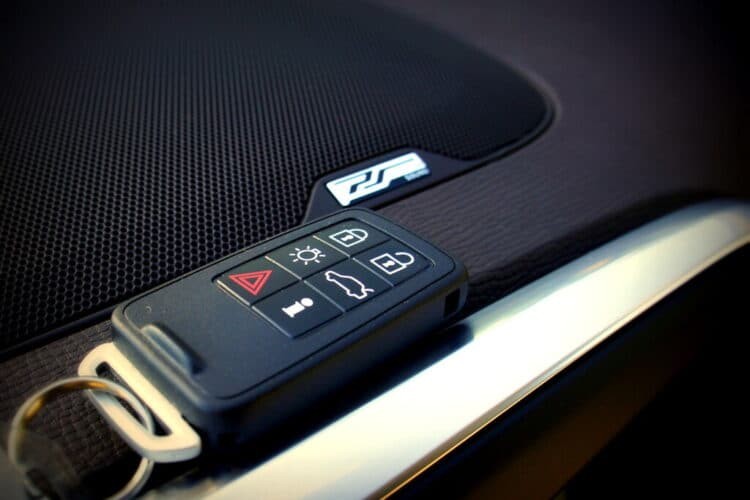
Car remote smart keys, often called key fobs, have become indispensable for modern car owners. They offer convenient control over your vehicle’s doors, alarm system, trunk, and even ignition from a distance. However, like any electronic device, these smart keys can sometimes lose their programming or malfunction. Fortunately, in many cases, you can reprogram your car remote smart key yourself without needing to visit a dealership or call a professional locksmith. This guide will walk you through the general steps on how to program your car remote smart key, empowering you to regain control quickly and efficiently.
Understanding the process of programming your car remote smart key can save you time and money. While specific procedures can vary between car manufacturers and models, the fundamental principles remain quite similar. This article provides a comprehensive overview of these general steps, ensuring you have a solid foundation for tackling this task.
Simple Steps to Program Your Car Remote Smart Key
Before you begin, it’s crucial to consult your vehicle’s owner’s manual. This manual is your most reliable resource for specific instructions tailored to your car’s make and model. Manufacturers often have unique programming sequences, and the manual will provide the most accurate steps for your particular vehicle. You can usually find a digital version of your manual online if you don’t have a physical copy.
Despite the model-specific variations, the following five steps outline a generally effective method for programming a car remote smart key. Remember to always prioritize the instructions in your owner’s manual if they differ from these general steps.
Step 1: Enter Programming Mode by Turning the Ignition
Begin by getting into the driver’s seat of your car, ensuring all doors are completely closed. Have your ignition key and the car remote smart key you wish to program ready. Insert your ignition key into the ignition switch. Turn the key to the “ON” position – this is the position just before you would start the engine. You should see the dashboard lights illuminate, but do not start the engine. The goal here is to power up the car’s electrical system and prepare it for programming mode.
Step 2: Initiate Programming Sequence with the Lock Button
Next, take your car remote smart key and aim it towards the receiver in your car. The receiver’s location can vary, but it is often near the rearview mirror or on the steering column. Press and hold the “lock” button on your remote smart key. While holding the lock button, observe your car for any indication that it has entered programming mode. Some cars may beep, flash their lights, or display a message on the dashboard. The timing for holding the button might vary slightly depending on your car model, so refer to your owner’s manual for precise duration if specified.
Step 3: Finalize Programming by Turning Off the Ignition
After pressing the lock button and observing a potential confirmation signal (or after the recommended time from your manual), quickly turn the ignition key back to the “OFF” position. Remove the key from the ignition switch. This action signals to the car’s computer that you have completed the programming sequence for the current remote. Acting promptly in this step is important for successful programming in many vehicle models.
Step 4: Program Additional Remotes Immediately
If you have multiple car remote smart keys to program, now is the time to program them. Many car systems will exit programming mode after one remote is programmed, or they might erase previously programmed remotes when a new one is added. Therefore, it’s essential to repeat steps 2 and 3 immediately for each additional remote you want to program. Work quickly and efficiently, minimizing any pauses between programming each remote. For each remote, press the lock button and then turn the ignition off.
Step 5: Test the Newly Programmed Remotes
Once you have programmed all your desired car remote smart keys, it’s time to test if the programming was successful. Re-enter your car and turn the ignition to the “ON” position again (without starting the engine). Then, press the “lock” button on each of your newly programmed remotes one at a time. Listen for the sound of the car doors locking or watch for the lights to flash – these are indicators that the remote has been successfully programmed. Test all the buttons on each remote (lock, unlock, trunk, panic) to ensure full functionality.
Important Considerations for Car Remote Smart Key Programming
While these steps provide a general guide, remember that specific programming procedures can differ significantly across various car makes and models. Always prioritize consulting your vehicle’s owner’s manual for the most accurate and detailed instructions for your car.
Key Takeaways for Successful Programming:
- Consult Your Owner’s Manual: This is the most crucial step. Your manual provides model-specific instructions.
- Work Quickly: Some programming sequences require speed and minimal delays between steps.
- Program All Remotes at Once: To avoid issues, program all your remotes during the same programming session.
- Check Battery: Ensure the batteries in your remote smart keys are fresh and functioning correctly.
- Troubleshooting: If the programming fails, re-read your manual, double-check each step, and try again. Sometimes, repeating the process multiple times is necessary.
If you encounter difficulties or are unsure about any step, it’s always best to consult a qualified auto locksmith or your car dealership. They have the expertise and specialized equipment to program car remote smart keys, especially for more complex systems or when DIY methods are unsuccessful. Programming your car remote smart key yourself can be a convenient solution, but professional assistance is available when needed.