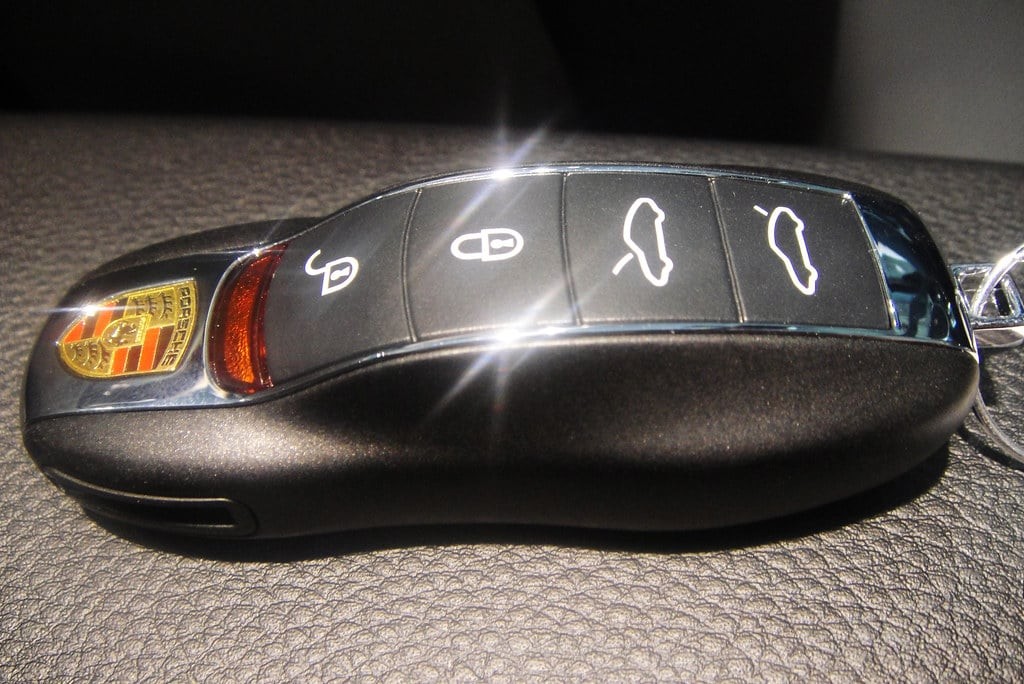
Car remote keys, also known as key fobs, are incredibly convenient devices that allow you to control various functions of your vehicle from a distance. From locking and unlocking doors to activating the alarm or even starting the engine remotely, these electronic keys offer a seamless user experience. However, like any electronic device, car remote keys can sometimes lose their programming due to signal issues or battery changes. When this happens, you might think a trip to the dealership or calling an expensive auto locksmith is your only option. Fortunately, in many cases, you can easily reprogram your car remote key yourself, saving you time and money.
This guide will walk you through a general method on how to program your car remote key. Keep in mind that while these steps are applicable to many vehicles, it’s always best to consult your car’s user manual for model-specific instructions. Different car manufacturers often have unique procedures for key fob reprogramming. Your user manual, or a quick search online for your car’s make and model along with “key fob programming instructions,” will be your most reliable resource.
Let’s dive into the step-by-step process of how to program a car remote key.
 Car key fob and ignition key, representing car remote programming process
Step 1: Get Ready in the Driver’s Seat and Turn On the Ignition
Begin by settling into the driver’s seat of your car. Ensure all doors are completely closed. Have both your ignition key and the car remote key (key fob) readily available. Insert your ignition key into the ignition slot. Turn the key to the “On” position – this is the position just before you would crank the engine to start. You should see the dashboard lights illuminate, indicating the car’s electrical system is active, but do not start the engine.
Step 2: Activate the Key Fob’s Lock Button
Take your car remote key and aim it towards the front of your car. The signal receiver for the remote is typically located near the rearview mirror, often integrated into the windshield or headliner area. Press and hold the “Lock” button on your key fob for a few seconds. This action sends a signal to your car’s receiver, initiating the programming sequence.
Step 3: Turn Off the Ignition to Reset the System
Quickly turn the ignition key back to the “Off” position, effectively shutting down the car’s electrical system (without starting the engine). Remove the key from the ignition. This action prompts the car’s system to recognize the signal from the key fob and prepare for reprogramming. It’s crucial to perform this step relatively quickly after pressing the lock button in the previous step. The car’s computer system has a limited window to enter programming mode.
Step 4: Repeat the Process for All Key Fobs Immediately
If you have multiple car remote keys that need programming, it’s essential to program them all in one go. Most car systems are designed to erase the memory of previously programmed key fobs when a new one is programmed. This means if you only program one key fob and have others, those unprogrammed fobs will no longer work.
Immediately after completing step 3 for the first key fob, repeat steps 2 and 3 for each additional key fob you need to program. Again, speed is important here. Minimize the delay between programming each key fob to ensure the car system recognizes and programs all of them correctly during this programming cycle. If there are significant delays, the programming process might fail, and you may need to start over from step 1. Some car models might even require you to repeat the entire cycle multiple times to re-enter programming mode if interrupted.
Step 5: Test the Programming and Restart if Necessary
After you have completed the programming sequence for all your key fobs, it’s time to test if the process was successful. Re-insert your ignition key and turn it to the “On” position (without starting the engine). Then, press the “Lock” button on each key fob, one at a time. Listen carefully for the sound of the car doors locking and unlocking. This audible confirmation indicates that the key fob has been successfully programmed. Test all the buttons on each key fob – lock, unlock, trunk release, and panic button – to ensure all functions are working as expected.
If you don’t hear the locks engaging, or if some buttons are not working, the programming process might have failed. In this case, don’t worry. Simply restart the entire process from Step 1 and carefully repeat each step, paying close attention to timing and ensuring you are following the instructions precisely. If you continue to experience difficulties, consult your car’s user manual again or consider seeking assistance from a qualified auto locksmith or your car dealership.
Important Note: This guide provides a general overview of how to program a car remote key. As emphasized earlier, the exact steps can vary significantly depending on your car’s make, model, and year. Always prioritize consulting your vehicle’s user manual for the most accurate and specific instructions for your car. By following the correct procedure for your vehicle, you can often successfully program your car remote key yourself and regain convenient remote access to your car’s features.