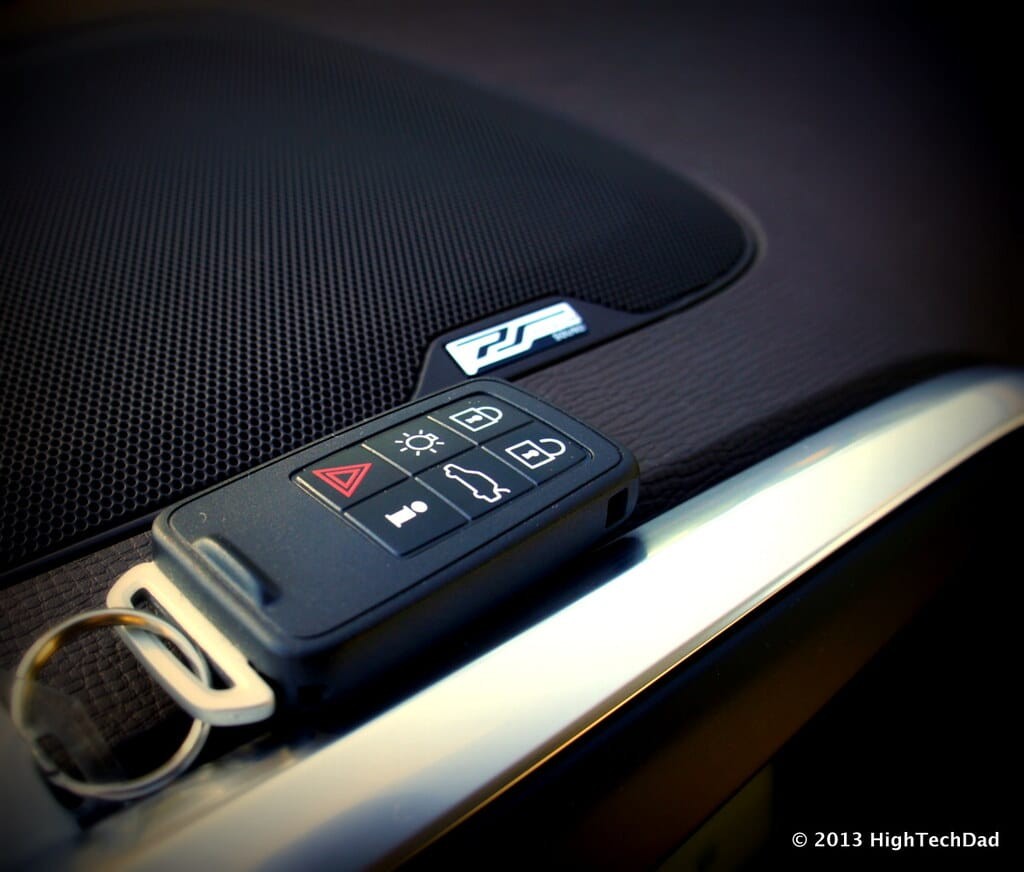
Car remotes, often called key fobs, are incredibly convenient devices that control various car functions from a distance, including locking and unlocking doors, activating alarms, opening trunks, and even starting the engine remotely. However, like any electronic device, car remotes can sometimes lose their programming or malfunction. When this happens, or when you need to program a replacement car remote, you might think a trip to the dealership or an auto locksmith is necessary. Fortunately, in many cases, you can reprogram your car remote yourself. This guide will walk you through the general steps on How To Program A Replacement Car Remote, potentially saving you time and money.
It’s important to note that while these steps provide a general approach, the specific programming procedure can vary depending on your car’s make, model, and year. Therefore, always consult your vehicle’s owner’s manual for the most accurate and manufacturer-recommended instructions for programming your specific car remote. You can usually find this information in the manual’s section on keys, remote entry, or security systems. If you can’t locate your physical manual, a digital version is often available on the manufacturer’s website.
Step-by-Step Guide to Programming Your Car Remote
While the exact process might differ slightly across car brands, the following steps outline a common method for programming a replacement car remote.
Step 1: Prepare in the Driver’s Seat
Begin by getting comfortable in the driver’s seat of your car. Ensure all doors are completely closed. Have both your ignition key and the replacement car remote readily available. This initial setup is crucial for the programming sequence to be successful.
Step 2: Turn Ignition to ‘On’ and Press Lock Button
Insert your ignition key into the ignition switch. Turn the key to the “On” position. This is the position just before you would crank the engine to start. Do not start the engine. Once the ignition is in the “On” position, take your replacement car remote and aim it at the car’s receiver. The receiver is often located in the front of the car, near the rearview mirror. Press the “Lock” button on the car remote for a few seconds. This action initiates the programming signal from the remote to your car’s system.
Step 3: Turn Ignition Off to Reset
Immediately after pressing the “Lock” button on the remote, turn the ignition key back to the “Off” position. Remove the key from the ignition. This action signals to the car’s computer to finalize the programming sequence. The car’s system should now be in a state to recognize the new remote.
Step 4: Repeat for Additional Remotes
If you are programming multiple replacement car remotes, you will need to repeat the previous steps for each additional remote you want to program. It’s important to program all remotes you intend to use in one session because reprogramming one remote might erase the memory of previously programmed remotes in some car models. Therefore, after turning off the ignition in Step 3, immediately proceed to program the next remote by repeating Steps 2 and 3 with the new remote. Work quickly and without delays between programming each remote to ensure the process is successful.
Step 5: Test and Verify Programming
After you have programmed all desired replacement car remotes, it’s time to test if the programming was successful. Turn the ignition to the “On” position again (without starting the engine). Press the “Lock” button on each car remote you programmed, one at a time. If the programming was successful, you should hear the car locks engage or see the parking lights flash, indicating that the car has received the signal from the remote. Test all the buttons on each remote to ensure all functions are working as expected, such as unlocking, trunk release, and panic button, if applicable.
In conclusion, while this 5-step guide provides a general overview of how to program a replacement car remote, remember that specific procedures can vary. Always prioritize consulting your car’s owner’s manual for the most accurate and detailed instructions tailored to your vehicle. By following the correct steps and acting promptly, you can often successfully program your car remote yourself, restoring the convenience and functionality of your key fob. If you encounter difficulties or the process doesn’t work, it might be necessary to consult a qualified auto locksmith or your car dealership for assistance.
