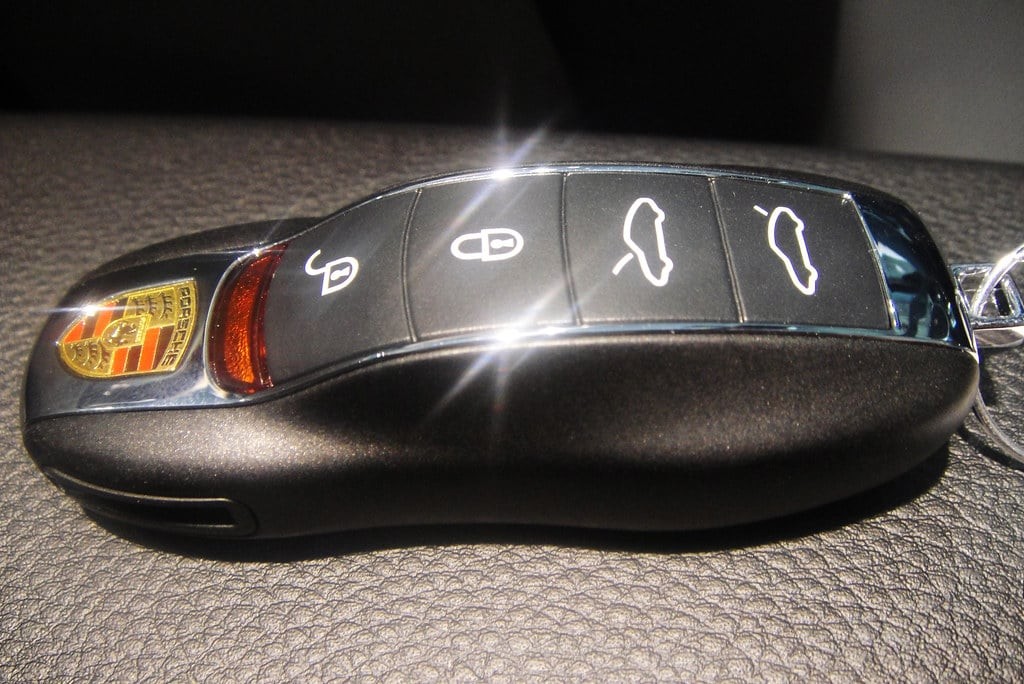
Car remote controls, often called key fobs, are incredibly convenient devices that allow you to lock, unlock, and sometimes even start your car from a distance. These remotes are essential for modern vehicle security and convenience. However, like any electronic device, they can sometimes lose their programming or need to be reprogrammed when you replace the battery or purchase a new or used remote. Fortunately, in many cases, you can program a new remote to your car yourself, saving you time and money compared to visiting a dealership or automotive locksmith.
This guide will walk you through a general method for programming a car remote. Keep in mind that the exact steps can vary depending on your car’s make, model, and year. Always consult your vehicle’s owner’s manual for the most accurate and specific instructions for your car. This manual is your best resource and will provide detailed guidance tailored to your vehicle’s system.
Here’s a general process that works for many vehicles to program your car remote:
 Car remote programming process visualized
STEP 1: Prepare for Programming
Before you begin, ensure you have all the necessary components. This includes your car, the remote you wish to program, and your car’s ignition key. It’s also highly recommended to locate your car’s owner’s manual. This manual will provide specific programming instructions for your particular make and model and is crucial for a successful process. Being prepared with the correct information will save you time and prevent frustration.
STEP 2: Enter Programming Mode
Get into the driver’s seat of your car and close all doors. Insert your ignition key into the ignition. The next steps are crucial and time-sensitive for many vehicles, so read them carefully before proceeding. Turn the ignition key to the “ON” position. This is the position right before you would crank the engine to start. Do not start the engine. Leave the key in the “ON” position for a few seconds. The duration can vary, but generally, a few seconds is sufficient.
STEP 3: Initiate Remote Synchronization
After turning the ignition to the “ON” position, locate the “lock” or “unlock” button on your car remote. Press and hold the “lock” button (or as specified in your owner’s manual) on the remote you are programming. While pressing the button, observe your car for any indication that it has entered programming mode. This might be a chime, a flashing light on the dashboard, or the car locks cycling (locking and unlocking). The signal receiver for the remote is often located near the rearview mirror or on the dashboard. Aim the remote in that general direction while pressing the button.
STEP 4: Exit Programming Mode and Test
Once you have pressed the remote button and observed an indication from your car that it has entered programming mode (or after a set time as indicated in your manual), turn the ignition key back to the “OFF” position and remove the key from the ignition. At this point, your car should exit programming mode. Now, test the newly programmed remote. Press the “lock” and “unlock” buttons on the remote to see if they control your car’s door locks. If successful, you should hear the locks engage and disengage.
STEP 5: Program Additional Remotes (If Necessary)
If you have multiple remotes to program, it is often necessary to program them all in one session. Many car systems will erase the memory of previously programmed remotes when a new one is programmed. Therefore, if you have multiple remotes, repeat steps 2-4 immediately for each additional remote after the first one is programmed. Work quickly between remotes as the programming mode may time out. After programming all remotes, test each one to ensure they are all working correctly.
Important Considerations:
- Consult Your Owner’s Manual: As emphasized earlier, your vehicle’s owner’s manual is the definitive guide for programming your car remote. Always prioritize the instructions in your manual over general guides.
- Specific Car Models: Programming methods can vary significantly between car manufacturers and even models within the same brand. Some cars may require different button presses, ignition sequences, or even diagnostic tools for remote programming.
- Troubleshooting: If the programming process is unsuccessful, double-check each step, ensure you are following the correct procedure for your car, and try again. If you continue to have issues, it might be necessary to consult a qualified car locksmith or your car dealership for assistance. In some cases, the issue might not be with the remote itself but with the car’s receiver or another component.
By following these general steps and, most importantly, consulting your vehicle’s owner’s manual, you can often successfully program a remote to your car and regain the convenience of remote access.
