Car key fobs, or remotes, are incredibly convenient devices that allow you to control your vehicle’s locks, alarm system, and even start the engine from a distance. However, these electronic keys can sometimes lose their programming or need replacement. Instead of immediately heading to a dealership, you can often reprogram a new or existing remote yourself. This guide provides a detailed walkthrough on How To Program A New Remote To Your Car, empowering you to take control and potentially save money.
It’s crucial to understand that while many vehicles allow for DIY remote programming, the exact steps can vary significantly between manufacturers and models. Always consult your car’s user manual for the most accurate and specific instructions for your vehicle. Think of this guide as a general roadmap to understand the process and common methods.
Let’s explore the typical steps involved in programming a new car remote.
Step-by-Step Guide to Program Your Car Remote
While specific procedures may differ, many car models follow a similar sequence for remote programming. Here’s a general step-by-step guide you can adapt, always remembering to prioritize your vehicle’s manual.
Step 1: Preparation Inside Your Vehicle
Begin by getting comfortable in the driver’s seat. Ensure all doors are completely closed. Have your ignition key and the new remote you intend to program readily available. It’s also wise to have your car’s user manual open to the key fob programming section if you’ve located it. Familiarizing yourself with any specific requirements beforehand can make the process smoother.
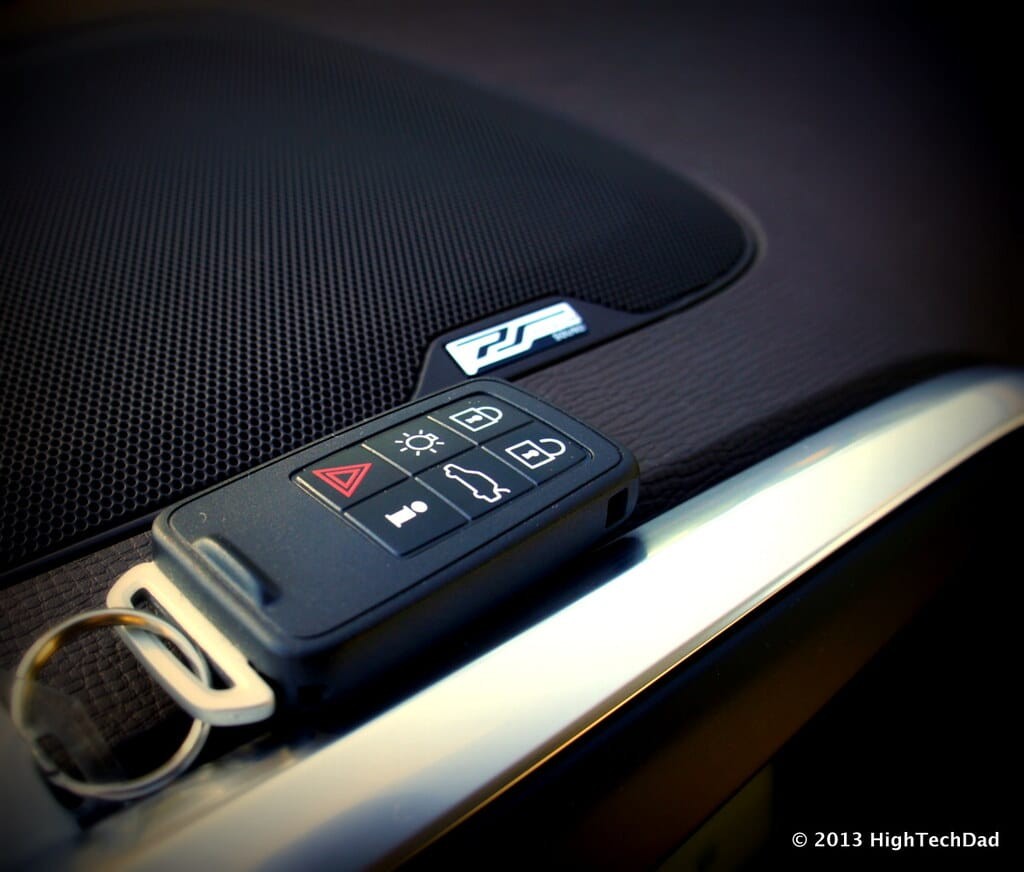
Step 2: Ignition and Button Pressing Sequence
Insert your ignition key into the ignition switch. Turn the key to the “ON” position. This is the position just before you would crank the engine to start. Do not start the engine. Once the ignition is in the “ON” position, take your new remote and aim it towards the dashboard area, typically near the rearview mirror. This area often houses the receiver for the remote signals. Press and hold the “lock” button on your remote for a few seconds. The timing can be crucial here, so be prepared to try different durations if the initial attempt doesn’t work.
Step 3: Turning Off Ignition and System Reset
After pressing the lock button for a few seconds, quickly turn the ignition key back to the “OFF” position. Remove the key from the ignition. This action is intended to signal the car’s computer to enter programming mode or to reset after receiving the remote’s signal. Again, speed is sometimes important. The car’s system might only stay in programming mode for a short duration.
Step 4: Programming Additional Remotes (If Applicable)
If you have multiple remotes to program, including your original remotes, this is the time to program them. Many car systems will erase the memory of previously programmed remotes when a new one is programmed. Therefore, you should program all desired remotes in one session. Repeat steps 2 and 3 immediately for each additional remote you want to program. Do not introduce delays between programming each remote, as this might cause the process to fail, and you may need to start over.
Step 5: Testing and Verification
After programming all your remotes, it’s time to test if the programming was successful. Insert the ignition key and turn the car to the “ON” position again (without starting the engine). Press the “lock” button on each remote you programmed, one at a time. Listen carefully for the sound of the car locks engaging or disengaging. This audible confirmation usually indicates that the remote has been successfully programmed. Test all buttons on each remote to ensure full functionality, including lock, unlock, trunk release, and panic button, if applicable to your remote.
Important Considerations and Troubleshooting
While this guide outlines a common method, remember that car manufacturers employ various programming techniques. Some vehicles require a specific sequence of door lock manipulations, brake pedal presses, or even diagnostic tools for remote programming.
Always Consult Your User Manual: The most reliable source of information is your vehicle’s user manual. Locate the section on key fobs or remote programming. It will provide the exact steps for your specific car model.
Model-Specific Procedures: Be aware that luxury car brands or vehicles with advanced security systems might have more complex programming procedures that are not DIY-friendly and may require dealership or locksmith assistance.
When to Seek Professional Help: If you’ve meticulously followed your user manual’s instructions and the remote still doesn’t program, or if you are uncomfortable with any step, it’s best to consult a qualified auto locksmith or your car dealership. They have specialized tools and expertise to handle more complex programming scenarios.
Conclusion
Programming a new remote to your car can often be a straightforward process that saves you time and money. By understanding the general steps and, most importantly, consulting your car’s user manual for model-specific instructions, you can confidently attempt to program your new remote. Empower yourself with this knowledge and take control of your car key remote management. However, always prioritize safety and seek professional help when needed.