Car remote controls, often called key fobs or electronic car keys, are incredibly convenient for managing your vehicle’s security and access. They allow you to lock and unlock doors, activate alarms, open the trunk, and even start your car remotely. Like any electronic device, car remotes can sometimes lose their programming or malfunction, especially when you replace a lost or damaged remote. Fortunately, in many cases, you can reprogram a new remote yourself without needing to visit a dealership or call a professional locksmith. This guide will walk you through the general steps on How To Program A New Remote For My Car, ensuring you can regain control and convenience quickly.
It’s crucial to understand that the exact programming procedure can vary significantly depending on your car’s make, model, and year. Therefore, before you begin, always consult your vehicle’s owner’s manual. This manual is your most reliable resource for specific instructions tailored to your car. You can usually find a physical copy with your car documents or search for a digital version online on the manufacturer’s website.
While the following steps provide a general overview of how to program a car remote, always prioritize the instructions in your owner’s manual for the most accurate and effective process.
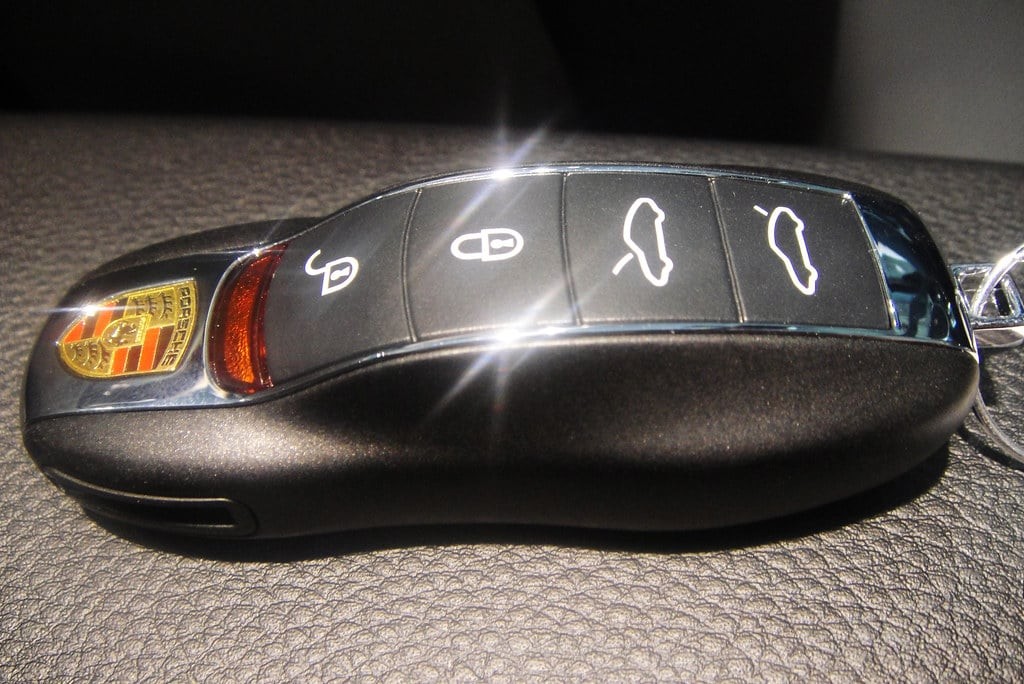 Car remote programming process
Step 1: Prepare for Programming
Before you start the programming process, there are a few essential preparations to ensure a smooth and successful experience.
- Gather Your Materials: You’ll need your new car remote, your car keys (both the ignition key and any existing working remotes), and your vehicle’s owner’s manual.
- Enter Your Vehicle: Get into the driver’s seat of your car and ensure all doors are completely closed. This is important because the car’s system needs to be in a closed and secure state to enter programming mode.
- Turn Off Accessories: Make sure all unnecessary accessories like the radio, interior lights, and air conditioning are turned off. This minimizes electrical interference and ensures the car’s system focuses on the programming signal.
Step 2: Initiate Programming Mode
This step is where the process can vary most between different car manufacturers. The goal is to get your car into a state where it’s ready to learn the signal from your new remote. Here are a few common methods to initiate programming mode:
- Ignition Cycling: This is a frequently used method. Insert your ignition key into the ignition switch and turn it to the “ON” position (where the dashboard lights up, but the engine is not started). Then, turn the key back to the “OFF” position. You may need to repeat this “ON-OFF” cycle a specific number of times (e.g., five or ten times) in quick succession. Your owner’s manual will specify the exact number of cycles and the speed required.
- Using the Valet Key: Some vehicles require the use of a valet key in conjunction with the ignition key cycling to enter programming mode. The valet key may need to be inserted and turned in a specific sequence along with the main ignition key.
- OBD-II Port Programming (Professional Method): While this guide focuses on DIY methods, it’s worth noting that automotive locksmiths and dealerships often use specialized tools that connect to your car’s OBD-II (On-Board Diagnostics II) port. These tools can directly program the remote, often offering a more streamlined and reliable process, especially for newer or more complex vehicle systems.
You’ll know you’ve successfully entered programming mode when your car provides an indication, which could be:
- A chime or beep: The car might emit an audible signal, like a chime or a series of beeps.
- Flashing lights: The parking lights or hazard lights might flash a few times.
- A message on the dashboard: Some cars display a message on the instrument panel indicating that it’s in programming mode.
If you don’t receive any of these indications, double-check your owner’s manual and repeat the initiation steps carefully.
Step 3: Program the New Remote
Once your car is in programming mode, you need to transmit the programming signal from your new remote. This usually involves the following:
- Press the “Lock” or “Unlock” Button: Take your new remote and press and hold the “Lock” or “Unlock” button. In some cases, you might need to press both buttons simultaneously or press a specific button sequence as indicated in your manual.
- Listen for Confirmation: After pressing the button(s) on the remote, listen for a confirmation signal from your car. This is often the same type of indication you received when entering programming mode (chime, beep, or light flash). This confirmation indicates that the car has successfully received and learned the signal from your new remote.
Step 4: Test and Repeat for Additional Remotes
After programming one remote, immediately test it to ensure it’s working correctly. Try locking and unlocking the doors, activating the trunk release, and if applicable, test the remote start function.
If you have multiple remotes to program (for example, if you are replacing two lost remotes or want to have a spare), you usually need to program all of them in the same programming session. This is because when you program a new remote, the car’s system might clear the memory of previously programmed remotes. Repeat Step 3 for each additional remote you want to program, usually within a short timeframe (e.g., within 30 seconds of programming the previous remote).
Step 5: Final Test and Troubleshooting
Once you’ve programmed all your remotes, exit programming mode. This might happen automatically after a period of inactivity, or you might need to turn the ignition key to the “ON” position and then “OFF” again to finalize the process.
Perform a final test of all programmed remotes to ensure they are all working correctly. If a remote is not working:
- Check the Remote Battery: Ensure the battery in the new remote is new and properly installed. A weak battery can sometimes prevent successful programming.
- Repeat the Programming Process: Carefully go through all the steps again, paying close attention to the timing and sequences described in your owner’s manual.
- Consult a Professional: If you’ve tried the programming process multiple times and are still having issues, it’s best to consult a qualified automotive locksmith or your car dealership. There might be a technical issue with your car’s remote receiver or the remote itself that requires professional diagnosis and repair.
Tips for Successful Car Remote Programming
- Read Your Owner’s Manual: This cannot be stressed enough. Your owner’s manual is the most accurate guide for your specific vehicle.
- Work Quickly: Some programming sequences require you to perform actions within a specific timeframe. Have all materials ready and be prepared to work efficiently.
- Battery Check: As mentioned earlier, ensure your new remote has a fresh battery.
- Seek Professional Help When Needed: If you’re uncomfortable with the DIY process or encounter difficulties, don’t hesitate to contact a professional locksmith or your dealership. They have the expertise and tools to program remotes for all types of vehicles.
By following these steps and consulting your owner’s manual, you can often successfully program a new remote for your car yourself, saving time and money. However, remember that vehicle technology is constantly evolving, and some newer or luxury cars may have more complex security systems that require professional programming. In such cases, seeking expert assistance is always the best course of action.