Car remote controls, often called key fobs, are incredibly convenient devices that allow you to control your vehicle’s locks, alarm system, and even start the engine from a distance. However, like any electronic device, car remotes can sometimes lose their programming or need to be reprogrammed when you replace a lost or damaged fob. Instead of immediately rushing to a dealership or calling an expensive locksmith, you might be able to program a new car remote control yourself. This guide will walk you through the general steps involved in programming a car remote, empowering you to potentially save time and money.
It’s crucial to understand that while the following steps offer a general approach, the exact procedure for how to program a car remote control can vary significantly depending on your car’s make, model, and year. Therefore, before you begin, always consult your vehicle’s owner’s manual. This manual is your best resource for specific instructions tailored to your car. You can usually find a physical copy in your glove compartment or access a digital version on the manufacturer’s website. Searching online for “[Your Car Make] [Your Car Model] key fob programming instructions” can also yield helpful model-specific guides and videos.
Despite the variations, many car models follow a similar process for remote programming. Here are the common steps you can attempt:
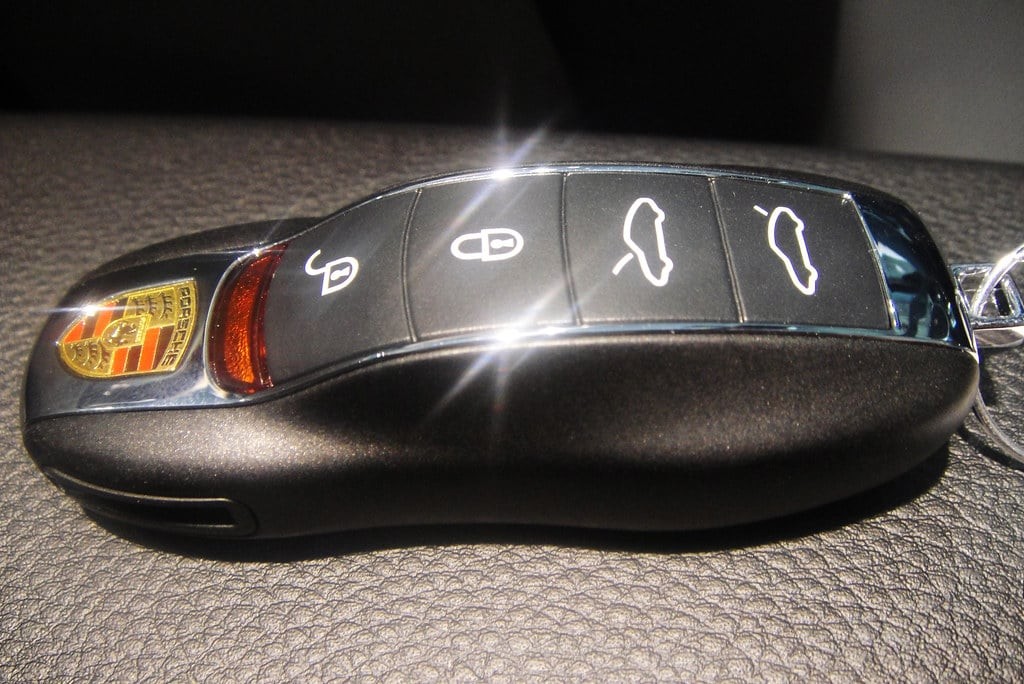 Car remote control programming process
Step 1: Prepare and Enter Programming Mode
Begin by sitting in the driver’s seat of your car. Ensure all doors are completely closed. Have your ignition key and the new car remote control ready.
The first key step is to get your car into programming mode. This often involves using your ignition key in a specific sequence. Insert your ignition key into the ignition switch. Then, turn the key to the “ON” position. This is the position just before you would crank the engine to start. Do not start the engine. Leave the key in the “ON” position for a few seconds, typically as indicated in your owner’s manual or the specific instructions you found for your car model.
Step 2: Initiate Remote Synchronization
Once the ignition is in the “ON” position, take your new car remote control. Locate the “lock” button on the remote. Point the remote control towards the dashboard or, in some vehicles, specifically towards the rearview mirror area where the receiver might be located. Press and hold the “lock” button for a few seconds. Some vehicles may require you to press another button in combination with the lock button, so again, refer to your specific instructions.
Step 3: Exit Programming Mode
After pressing the lock button (or the specified button combination), turn the ignition key back to the “OFF” position. Remove the key from the ignition switch. This action should signal to your car that you have completed the programming sequence for the current remote.
It is important to act promptly between steps. The car’s system usually has a time-sensitive window for programming. Delays between turning the ignition and pressing the remote buttons might cause the process to fail, and you may need to start over.
Step 4: Program Additional Remotes (If Necessary)
If you have multiple car remote controls to program, it’s essential to program them all in one session. Many car systems, when programmed with a new remote, will erase the memory of previously programmed remotes. Therefore, if you have more than one remote, repeat steps 2 and 3 immediately for each additional remote you want to program. Act quickly and efficiently to ensure all remotes are programmed successfully in the same programming cycle.
Step 5: Test the Remotes
After you have programmed all desired remote controls, it’s time to test if the programming was successful. Insert the ignition key and turn the car to the “ON” position again (without starting the engine). Then, press the “lock” button on each of your newly programmed remote controls, one at a time.
Listen carefully for a response from your car. Typically, a successful programming will be indicated by the car doors locking and unlocking, or you might hear a beep or see the parking lights flash. Test all the buttons on each remote – lock, unlock, trunk release, and panic button – to ensure all functions are working correctly. If the locks respond to each remote, congratulations! You have successfully programmed your new car remote control.
Troubleshooting and Important Considerations
If your car doesn’t respond to the remote after following these steps, double-check the following:
- Owner’s Manual: Re-read your owner’s manual or the model-specific instructions to ensure you followed the exact procedure for your car.
- Battery: Make sure the batteries in your new remote control are new and installed correctly.
- Compatibility: Verify that the new remote control is compatible with your car’s make, model, and year. Incorrect remotes will not be programmable.
- Programming Mode: Ensure you are successfully entering programming mode. If unsure, try the ignition key sequence again carefully.
If you continue to experience difficulties programming your car remote control, it may be necessary to seek professional assistance. Contact a certified auto locksmith or your car dealership. They have specialized tools and knowledge to diagnose and resolve remote programming issues.
In conclusion, learning How To Program A New Car Remote Control can be a valuable skill for any car owner. By following these general steps and, most importantly, consulting your vehicle’s specific instructions, you can often program your remote yourself and enjoy the convenience of keyless entry and remote vehicle control. Remember to prioritize your owner’s manual as the definitive guide for your car’s remote programming process.