Keyless entry car remotes, often called key fobs, have become indispensable for modern vehicle owners. These handy devices offer convenient control over your car’s locking system, alarm, and even ignition from a distance. However, like any electronic device, key fobs can sometimes lose their programming due to signal issues, battery changes, or simply over time. Fortunately, in many cases, you can reprogram your key fob yourself without the need for a professional. This guide provides a comprehensive, step-by-step approach to programming your keyless entry car remote, empowering you to regain control and convenience quickly.
Understanding Keyless Entry Car Remotes
A keyless entry car remote, or key fob, is more than just a simple gadget; it’s a crucial component of your vehicle’s security and convenience system. These remotes typically function by sending a radio frequency signal to your car, allowing you to perform various actions such as locking and unlocking doors, opening the trunk, activating the panic alarm, and in some vehicles, even starting the engine remotely.
Why do these key fobs sometimes need reprogramming? Several factors can lead to a loss of programming. Common causes include battery replacement in the fob, signal interference, or issues with the car’s receiver. In some instances, if your car battery has been disconnected or replaced, you might also need to reprogram your key fobs. Regardless of the reason, understanding how to reprogram your remote is a valuable skill for any car owner.
General Steps for Programming Your Key Fob
While specific procedures can vary between car manufacturers and models, a general method exists that works for many vehicles. It’s crucial to remember to always consult your vehicle’s owner’s manual for the most accurate and manufacturer-recommended steps for your specific car. The following steps provide a general guideline to get you started:
Step 1: Prepare and Enter Your Vehicle
Begin by gathering all necessary items: your key fob, your ignition key, and ideally, your vehicle’s owner’s manual. Sit in the driver’s seat of your car and ensure all doors are completely closed. This is important because the car’s system needs to be in a closed and secure state to initiate the programming sequence.
Step 2: Initiate the Ignition Cycle and Press the Lock Button
Insert your ignition key into the ignition and turn it to the “ON” position. This is the position just before you would crank the engine to start. Do not start the engine. Once the ignition is in the “ON” position, take your key fob and press the “Lock” or “Unlock” button. Point the fob towards the dashboard or the area where your car’s receiver is likely located (often near the rearview mirror). Hold the button down for a few seconds.
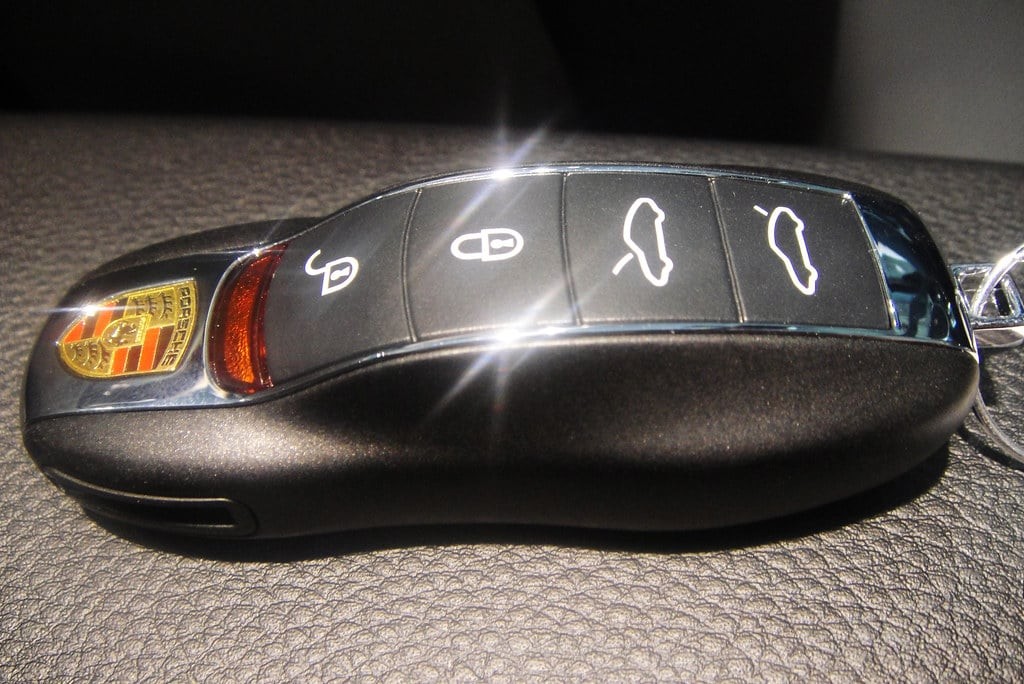 Car key fob with buttons for lock, unlock, and trunk
Step 3: Turn Off the Ignition and Allow System Reset
Quickly turn the ignition key back to the “OFF” position. This action should prompt the car’s system to recognize the programming signal from the key fob. You might hear a chime or see the car’s locks cycle (lock and unlock) to indicate that the system has entered programming mode or has accepted the new key fob signal. Timing is sometimes critical in this step, so try to be prompt in turning the ignition off after pressing the fob button.
Step 4: Repeat for Additional Key Fobs
If you have multiple key fobs that need programming, now is the time to program them. Most car systems are designed to program all key fobs in a single session. Often, when you program a new fob, the system might erase the memory of previously programmed fobs. Therefore, it’s best to repeat steps 2 and 3 for each additional key fob you want to use with your vehicle, doing so in quick succession.
Step 5: Test the Key Fobs
After you have completed the programming steps for all your key fobs, it’s time to test if the process was successful. Turn the ignition to the “ON” position again (without starting the engine). Then, press the “Lock” or “Unlock” button on each key fob to test its functionality. If the programming was successful, you should hear the car locks respond (locking and unlocking) to each key fob.
Important Considerations and Troubleshooting Tips
While the above steps offer a general approach, keep these important points in mind:
- Consult Your Vehicle’s Owner’s Manual: This is the most crucial step. Your owner’s manual will provide the exact, manufacturer-recommended procedure for programming your key fob. Procedures can vary significantly between makes, models, and years.
- Different Programming Methods: Some vehicles may require different programming methods. Some newer cars might need to be programmed through the OBD-II port using specialized equipment, which is typically done by a dealership or a qualified locksmith.
- Troubleshooting: If the programming process doesn’t work on the first try, reread your owner’s manual carefully and ensure you are following each step precisely. Common issues can include incorrect timing, not having all doors closed, or a low battery in the key fob itself. Try replacing the key fob battery and attempting the process again.
- Security: Be cautious when following online guides and ensure they are from reputable sources. If you are unsure or uncomfortable with the process, seeking assistance from a certified auto locksmith or your car dealership is always a safe and reliable option.
Conclusion
Programming your keyless entry car remote can often be a straightforward process you can accomplish at home, saving you time and money. By understanding the general steps and, most importantly, consulting your vehicle’s owner’s manual, you can regain the convenience of your key fob quickly. While DIY programming is often possible, remember that for some vehicles or in complex situations, professional assistance from an auto locksmith or dealership might be necessary to ensure proper programming and security. Enjoy the ease and security that a properly functioning keyless entry system provides!