Car remotes, also known as key fobs or electronic car keys, are incredibly convenient devices that allow you to control your vehicle’s doors, alarm system, trunk, and even start the engine from a distance. These devices are essential for modern car owners, offering both security and ease of access. However, like any electronic device, car remotes can sometimes malfunction or lose their programming over time. When this happens, you might think a trip to the dealership or an expensive locksmith is your only option. Fortunately, in many cases, you can reprogram your car remote yourself, saving time and money. This guide will walk you through the general steps on how to program car remote, empowering you to take control of your car’s key fob programming.
It’s crucial to understand that while the following steps provide a general approach to program car key fob, specific procedures can vary significantly depending on your car’s make, model, and year. Always consider your vehicle’s user manual as the primary source of information for reprogramming instructions. You can usually find this manual in your glove compartment or search for a digital version online on the manufacturer’s website. Consulting your manual will provide the most accurate and effective method for your particular vehicle.
Here are the common steps involved in the process of car remote programming.
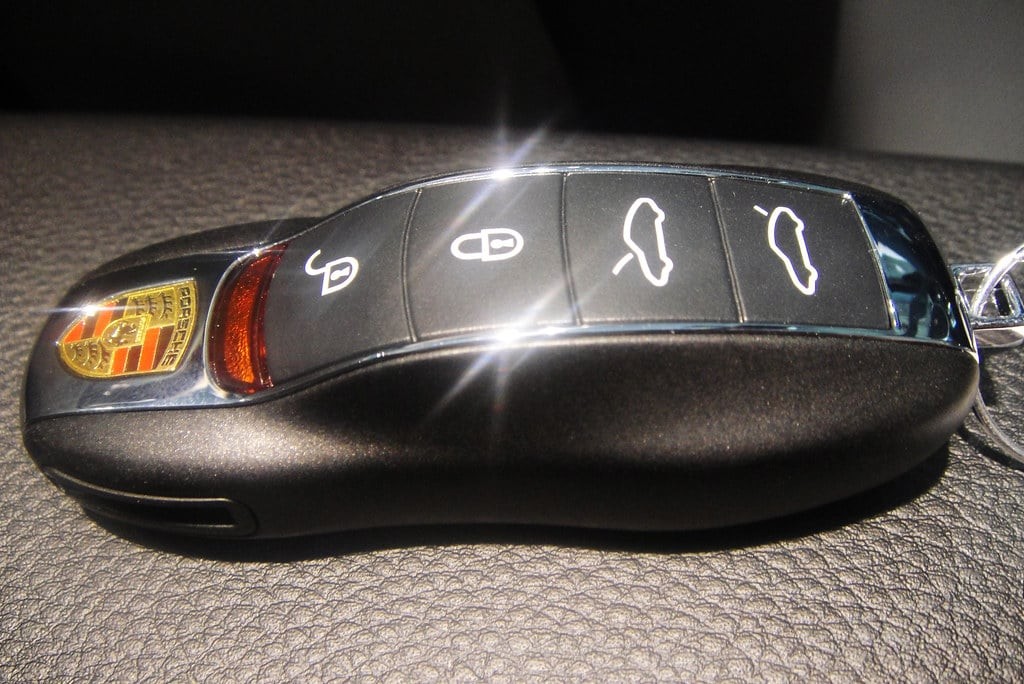
 Porsche Key Fob
Step-by-Step Guide: Programming Your Car Remote
STEP 1: Get Ready in the Driver’s Seat and Turn on the Ignition
Begin by positioning yourself in the driver’s seat of your car. Ensure all doors are completely closed. Have both your car’s ignition key and the car remote (key fob) you wish to program readily accessible. Insert your ignition key into the ignition switch. Turn the key to the “on” position, which is typically the position just before you would crank the engine to start. The goal here is to power the car’s electrical systems without actually starting the engine. You should see the dashboard lights illuminate.
STEP 2: Press the Lock Button on Your Car Remote
Take the car remote you are programming and aim it towards the receiver in your car. The receiver’s location can vary, but it’s often situated in the front of the car, near or above the rearview mirror. Press and hold the “lock” button on the key fob for a few seconds. This action sends a signal to the car’s receiver, initiating the programming sequence.
STEP 3: Turn Off the Ignition to Reset the System
Immediately after pressing the lock button for the specified duration, turn the ignition key back to the “off” position. This action cuts the power and prompts the car’s system to recognize the new remote signal. It’s important to act swiftly in this step. Removing the key from the ignition slot right after turning it off is also often part of the process for some car models. This quick sequence helps the car’s computer reset and prepare for the next programming step.
STEP 4: Repeat the Process for All Car Remotes
If you have multiple car remotes to program, it’s crucial to repeat the previous steps for each one immediately after the other. Many car models have systems that will erase the programming of all previously programmed remotes when a new one is added. This means if you only program one remote and stop, your other remotes might no longer work. Therefore, to ensure all your remotes are functional, program them all in one session, following steps 2 and 3 for each additional remote. Speed and continuity are key here to avoid the system timing out or failing to recognize all the remotes.
STEP 5: Test the Car Remote Programming
After you have completed the programming process for all desired car remotes, it’s time to test if the programming was successful. Turn the ignition to the “on” position again (without starting the engine). Then, press the “lock” button on each car remote individually. Listen carefully for the sound of the car locks engaging and disengaging. A distinct clicking sound from the door locks usually indicates that the remote has been successfully programmed. Test all the buttons on each remote (lock, unlock, trunk, panic button if applicable) to ensure full functionality.
Important Considerations for Programming Your Car Remote
While these steps provide a general guideline on how to program car remote, remember that variations exist across different car manufacturers and models. Always prioritize consulting your vehicle’s user manual for the most accurate and model-specific instructions.
Key Takeaways:
- User Manual is Key: Your car’s user manual is the most reliable resource for specific programming steps.
- Model Variations: Programming methods can differ significantly between car makes, models, and years.
- Timing Matters: The timing between steps, especially turning the ignition and pressing buttons, can be critical for successful programming.
- Program All Remotes: If you have multiple remotes, program them all in one session to avoid losing the programming on previously working remotes.
- Troubleshooting: If the programming process fails, double-check the steps in your user manual and try again, paying close attention to timing and button presses. If issues persist, it might be necessary to consult a qualified locksmith or dealership.
In conclusion, learning how to program car remote can be a straightforward process, often achievable at home without professional help. By following these general steps and, most importantly, referring to your car’s user manual for specific instructions, you can regain control of your car’s remote functions and save yourself unnecessary expenses.