Car remotes, or key fobs, are incredibly convenient devices that control your car’s locks, alarm system, and even ignition from a distance. While factory remotes are common, universal car remotes offer a versatile aftermarket solution, often compatible with a wide range of vehicle makes and models. Like any electronic device, these remotes can sometimes lose their programming or need to be set up when newly purchased. Instead of immediately seeking professional help, you can often program a universal car remote yourself. This guide will walk you through the general steps to program your universal car remote, saving you time and potentially money.
It’s crucial to understand that while the following steps provide a general approach, specific programming instructions can vary significantly between car manufacturers and remote brands. Always consult your universal car remote’s user manual and your vehicle’s owner’s manual for the most accurate and detailed instructions for your particular situation.
Here are the typical steps involved in programming a universal car remote:
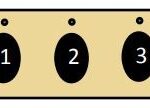
 Car remote programming process
STEP 1: Prepare Your Vehicle and Remote
Begin by sitting in the driver’s seat of your car. Ensure all doors are fully closed. Have your universal car remote ready, along with your car’s ignition key if required for the programming process. Locate your vehicle’s owner’s manual and the manual for your universal car remote. These documents are essential as they contain specific programming sequences for your car and remote model. Sometimes, the programming process requires the ignition to be turned on and off in a specific sequence, so familiarity with your car’s ignition system is helpful.
STEP 2: Enter Programming Mode
This step varies the most between vehicles. Entering programming mode typically involves a sequence of actions using your ignition key and potentially the car doors. Common methods include:
- Ignition Cycling: Insert your ignition key into the ignition and turn it to the “ON” position (without starting the engine) and then back to “OFF” multiple times in rapid succession. The number of cycles can vary (e.g., three times, five times).
- Door Lock/Unlock and Ignition Combinations: Some vehicles require a combination of opening and closing the driver’s side door, along with ignition key cycles, to enter programming mode.
- Using the Valet Switch or Programming Button: Some aftermarket universal remote systems might include a valet switch or a dedicated programming button that needs to be pressed or toggled to initiate the programming sequence.
You’ll usually know you’ve successfully entered programming mode when your car’s lights flash, the horn beeps, or the door locks cycle automatically. Refer to your vehicle’s manual for the exact method to enter programming mode for your car model.
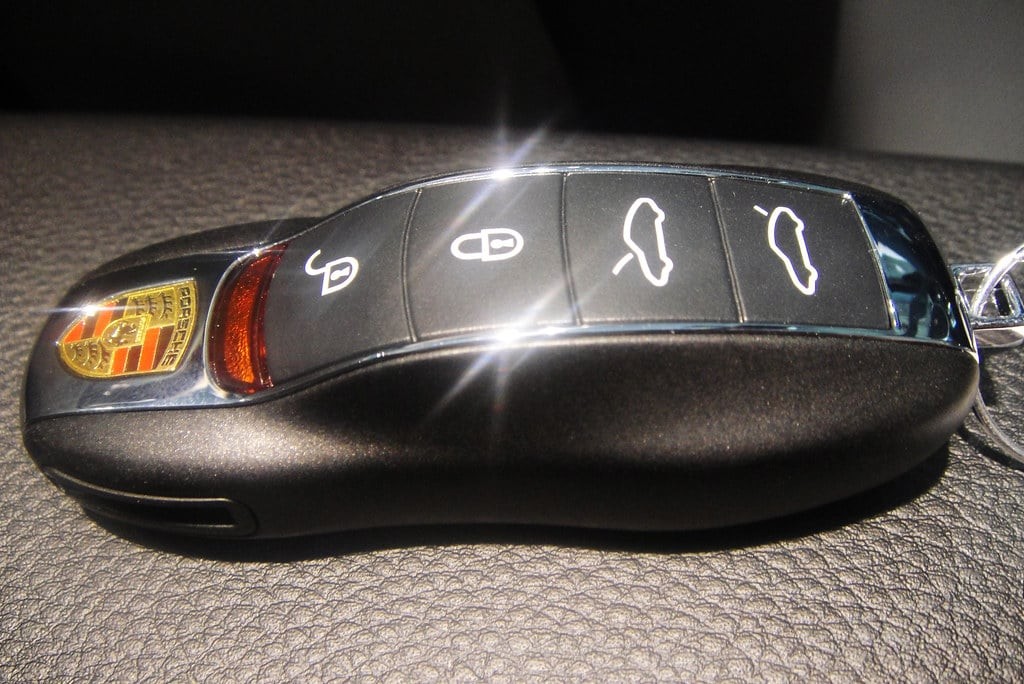
STEP 3: Activate the Universal Car Remote
Once your car is in programming mode, you need to activate the universal car remote to sync it with your vehicle’s receiver. This usually involves pressing buttons on the remote in a specific sequence. A common procedure is to:
- Press and hold the “Lock” button on the universal remote.
- While holding the “Lock” button, press another button, such as “Unlock” or “Panic,” as instructed in your remote’s manual.
- Release both buttons.
The car may respond with a light flash or a beep to confirm it has received the signal from the remote. If you are programming multiple remotes, you may need to repeat this activation step for each remote within a short timeframe while the car is still in programming mode.
STEP 4: Test the Remote’s Functionality
After activating the remote (or remotes), exit programming mode. This might involve simply waiting for a short period, turning the ignition off, or closing the driver’s side door. Test all the buttons on your newly programmed universal car remote: “Lock,” “Unlock,” “Trunk Release,” and “Panic” (if applicable). Ensure that each function operates correctly and as expected. If a function doesn’t work, you may need to repeat the entire programming process from the beginning.
STEP 5: Repeat for Additional Remotes (If Necessary)
If you are programming multiple universal car remotes, it’s often necessary to program them all in one session. Many car systems will only retain the programming for the remotes programmed during the most recent programming cycle. Therefore, if you have multiple remotes, repeat steps 3 and 4 for each additional remote immediately after successfully programming the first one, while the car is still in programming mode.
Important Considerations:
- Consult Manuals: Always prioritize the instructions provided in your universal car remote’s manual and your vehicle’s owner’s manual. These are the most reliable sources for accurate programming steps.
- Battery Condition: Ensure the batteries in your universal car remote are fresh and have sufficient charge. Low batteries can sometimes interfere with the programming process.
- Compatibility: Verify that the universal car remote you purchased is indeed compatible with your car’s make, model, and year. Not all universal remotes work with all vehicles.
- Troubleshooting: If you encounter difficulties, re-read the manuals carefully, and double-check each step. If you are still unable to program the remote, consider seeking assistance from a professional auto locksmith or your car dealership.
In Conclusion:
Programming a universal car remote can be a straightforward task when you follow the correct steps for your specific vehicle and remote model. By carefully consulting your manuals and following a systematic approach, you can often successfully program your remote yourself, enjoying the convenience and security it provides. Remember, when in doubt, seeking professional help is always a viable option to ensure proper programming and avoid potential issues.