Car key remotes, often called key fobs or electronic car keys, are incredibly convenient devices that control various car functions from a distance. They allow you to lock and unlock doors, activate the alarm, open the trunk, and even start your car remotely. However, like any electronic device, car remotes can sometimes lose their programming or need replacement. Fortunately, in many cases, you can reprogram a replacement car remote yourself without the need for a professional auto locksmith. This guide will walk you through the general steps to program your car remote, ensuring you can regain control and convenience quickly.
It’s crucial to understand that while the following steps offer a general approach, specific procedures can vary significantly depending on your car’s make, model, and year. Always consult your vehicle’s owner’s manual first. This manual is your most reliable resource for detailed, model-specific instructions on how to program your replacement car remote. You can usually find a physical copy in your glove compartment or access a digital version on the manufacturer’s website.
Here are the general steps to program a replacement car remote:
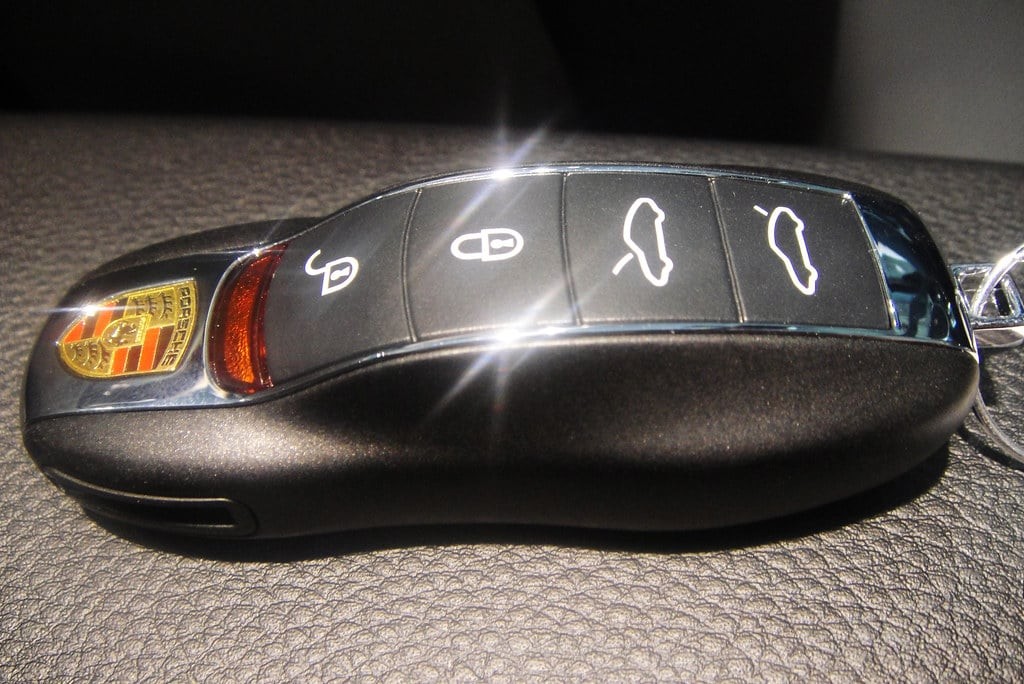 Porsche Key Fob
Step 1: Turn On the Ignition
Begin by getting into the driver’s seat of your car, ensuring all doors are completely closed. Have both your ignition key and the replacement car remote readily available. Insert your ignition key into the ignition switch. Turn the key to the “On” position. This is the position just before you would crank the engine to start. You should see the dashboard lights illuminate, indicating the car’s electrical system is active, but the engine should not be running.
Step 2: Press the Lock Button on the Remote
Take your replacement car remote and aim it towards the dashboard. The original article mentions aiming at the “transmission receiver in the front of the car above the mirror.” While the receiver location can vary, a general direction towards the front of the car’s dashboard area is usually effective. Press and hold the “Lock” button on the car remote for a few seconds. Some vehicles might require you to press and release the button multiple times in a sequence, so refer to your user manual for specifics.
Step 3: Turn Off the Ignition
Quickly turn the ignition key back to the “Off” position and remove it from the ignition switch. Timing is often important in this process. The car’s system needs to recognize a sequence of actions within a specific timeframe to enter programming mode. After turning off the ignition, some systems might require you to open and close the driver’s side door or perform another specific action. Again, your car’s manual will provide precise instructions if needed at this step.
Step 4: Repeat the Process for All Remotes
If you have multiple replacement car remotes to program, it’s essential to program them all at once during the same programming sequence. Many car systems will erase the memory of previously programmed remotes when a new one is programmed. This means if you only program one new remote and have other existing remotes you wish to use, they may no longer work. Immediately after completing step 3, repeat steps 2 and 3 for each additional remote you need to program. Work quickly and without significant pauses between programming each remote to ensure the system recognizes all of them within the programming cycle.
Step 5: Test the Remotes
Once you have completed the programming steps for all your replacement car remotes, test each one to confirm they are successfully programmed. Insert the ignition key and turn the car to the “On” position (without starting the engine). Then, press the “Lock” or “Unlock” button on each remote individually. Listen for the car’s locks to engage or disengage, or observe the car’s lights flashing, depending on your vehicle’s feedback signals. If you hear the locks respond to each remote, it indicates successful programming. If a remote does not function, you may need to repeat the entire programming process from the beginning, ensuring you follow each step precisely and within the required timeframes.
Important Considerations and Troubleshooting
While these steps are generally applicable, remember that car remote programming procedures are not universal. Variations exist across different car manufacturers and even models within the same brand. Always prioritize consulting your vehicle’s user manual for the most accurate and effective method for your specific car.
If you encounter difficulties programming your replacement car remote, double-check the following:
- User Manual: Re-read the programming instructions in your car’s owner’s manual carefully.
- Battery: Ensure the batteries in your replacement remote are new and properly installed.
- Timing: Pay close attention to the timing requirements between steps, as outlined in your manual.
- Compatibility: Verify that the replacement remote is compatible with your car’s make, model, and year.
If you’ve followed all instructions and still cannot program your remote, it might be necessary to seek assistance from a qualified auto locksmith or your car dealership’s service department. They have specialized equipment and expertise to diagnose and resolve car remote programming issues.
In conclusion, programming a replacement car remote is often a task you can accomplish yourself by following specific steps, usually outlined in your car’s user manual. By understanding the general process and always referring to your vehicle-specific instructions, you can save time and money while regaining the convenience of your car remote.