Losing the ability to remotely start or even access your vehicle because of a malfunctioning smart key remote can be incredibly frustrating. If your push-to-start car remote isn’t working as expected, or if you’ve obtained a replacement, reprogramming it might be the solution. While some models require professional locksmith programming, many push-to-start remotes offer a straightforward DIY programming process. This guide will walk you through the general steps for reprogramming your push-to-start car remote yourself.
Before you jump into reprogramming, consider a simple fix: replacing the batteries. A dying battery is a common culprit for key fob issues. For detailed instructions, check out resources on how to replace key fob batteries.
Step 1: Get Inside Your Vehicle
Begin by entering your vehicle with your smart key remote in hand. Sit in the driver’s seat and ensure all doors are closed. This is essential to start the programming sequence effectively.
Step 2: Find the Programming Button
Locate the programming or “learn” button in your vehicle. This button is specifically for pairing your key fob and is standard in vehicles with push-to-start systems. The exact location can differ depending on your car’s make and model. It’s often situated within the “transmitter compartment,” which you might find on the driver’s side door panel or possibly under the center armrest. Look for a compartment labeled “transmitter” or a button clearly marked “program.” Your vehicle’s owner’s manual is your best resource for pinpointing this button if you’re unsure. Once located, press this button to initiate the remote pairing procedure.
 Push-To-Start Key Fob Programming Guide
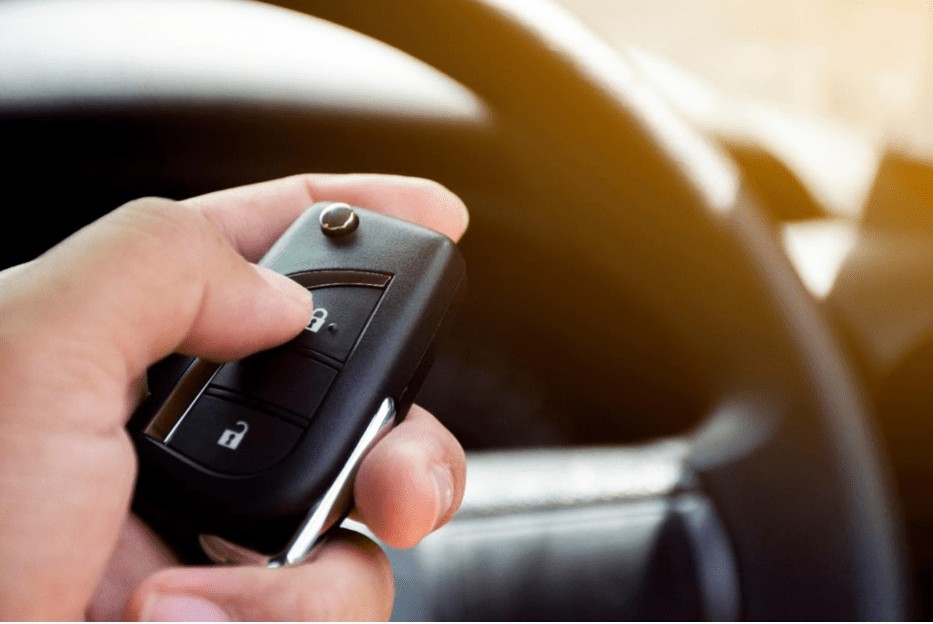
Step 3: Press and Hold a Button on Your Remote
While keeping the program button pressed inside your vehicle, take your smart key remote and press and hold any button on it. Maintain pressure on both buttons – the one in your car and the one on your key fob – simultaneously. You’ll need to hold them until the connection is established. A successful connection is usually indicated by a visual cue from your vehicle, such as the door locks flashing or the parking lights blinking. This step typically requires holding the buttons for at least three seconds, but it might take a little longer in some cases.
Step 4: Release the Key Fob Button
Once you observe the visual confirmation indicating a connection, release the button you’ve been holding on your key fob. A steady light on your dashboard or a similar indicator might appear to confirm successful pairing. It’s important to be patient, as it may take a few moments for the connection to fully register and the confirmation signal to become apparent.
Step 5: Test Your Newly Programmed Remote
After completing the programming steps, test your key fob thoroughly. Try locking and unlocking your doors using the remote buttons. If your vehicle is equipped with remote start, test this function as well. If everything operates correctly, congratulations, you’ve successfully programmed your push-to-start car remote!
If you encounter persistent issues even after attempting these steps, it might indicate a need for a replacement smart key remote. You can find a wide selection of replacement remotes at online retailers specializing in car and truck remotes, often at significantly lower prices than dealerships. For further assistance with remote programming or if you prefer professional help, consider searching for a qualified locksmith who specializes in automotive key programming. Many locksmiths offer mobile services and can program your remote for you. You can also consult the website of car remote specialists for locksmith search tools and additional support.