Keyless remotes, often called key fobs, have become indispensable for modern car owners. They offer convenient control over vehicle access, security systems, and even remote starting. However, these electronic devices can sometimes lose synchronization with your car, requiring reprogramming. Instead of immediately seeking professional help from an automotive locksmith, you can often reprogram your key fob yourself. This guide will walk you through the general steps to reprogram your car’s keyless remote, empowering you to restore functionality quickly and efficiently.
While the process outlined below is generally applicable to many vehicles, it’s crucial to understand that specific procedures can vary significantly depending on your car’s make, model, and year. Always prioritize consulting your vehicle’s owner’s manual for the most accurate and manufacturer-recommended steps for key fob programming. This manual is your most reliable resource and will provide precise instructions tailored to your specific car.
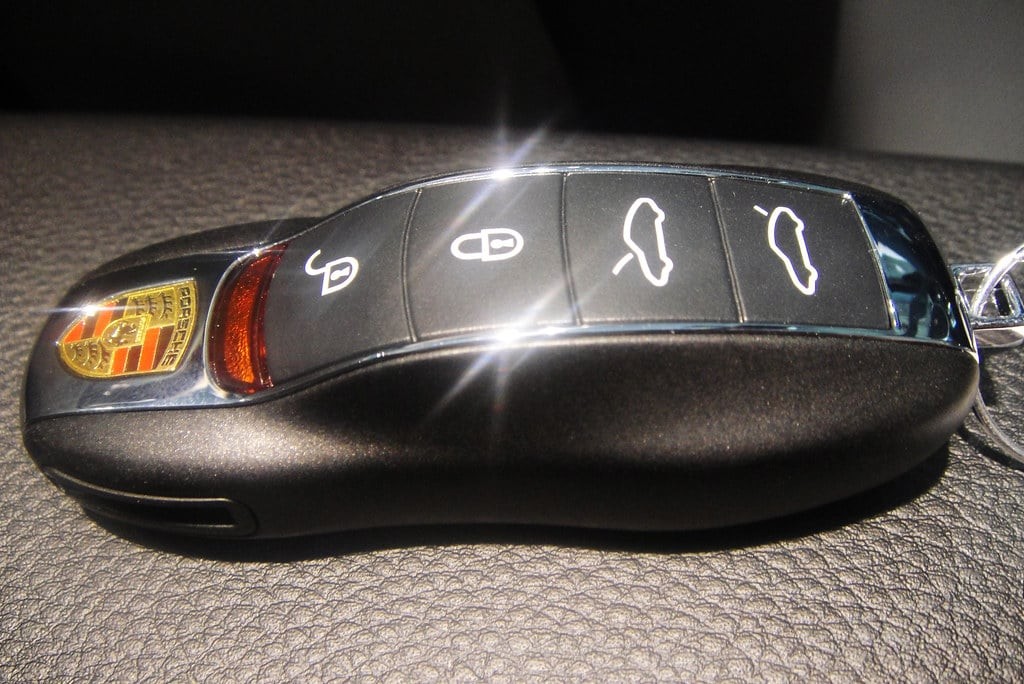
 Car key fob for programming
Understanding the General Key Fob Programming Process
Reprogramming a key fob typically involves a sequence of actions that puts your car into a programming mode. This mode allows the vehicle’s computer system to recognize and synchronize with the signal from your key fob. The general steps often involve using the ignition key in combination with pressing buttons on your key fob in a specific order and timing.
Let’s explore the common steps involved in programming a keyless remote. Remember to have your owner’s manual handy for any specific deviations for your vehicle.
Step 1: Prepare to Program in the Driver’s Seat
Begin by positioning yourself in the driver’s seat of your car. Ensure all doors are completely closed. Have your ignition key and the key fob you wish to program readily available. This confined and focused environment helps ensure a smooth programming process.
Step 2: Turn the Ignition to the ‘On’ Position
Insert your ignition key into the ignition cylinder. Turn the key to the ‘On’ position. This is the position just before you would engage the starter to turn on the engine. The goal is to power up the car’s electronics without actually starting the engine. Leave the key in this ‘On’ position for a few seconds, typically as indicated in your owner’s manual, to activate the car’s systems.
Step 3: Initiate Key Fob Programming Sequence
With the ignition in the ‘On’ position, take your key fob and press the ‘Lock’ or ‘Unlock’ button. Point the key fob towards the dashboard or a specific area in your car, as sometimes there’s a receiver located in a particular spot (often near the rearview mirror). Hold the button down for a few seconds as instructed in your manual. You might hear a chime or see a light flash on your dashboard, indicating that the car has entered programming mode or recognized the key fob signal.
Step 4: Turn the Ignition ‘Off’ and Test
After pressing the key fob button, immediately turn the ignition key back to the ‘Off’ position and remove the key from the ignition. This action often finalizes the programming sequence. Now, test the newly programmed key fob by pressing the ‘Lock’ and ‘Unlock’ buttons to see if they control your car doors. Listen for the car locks to engage and disengage, confirming successful programming.
Step 5: Program Additional Key Fobs (If Necessary)
If you have multiple key fobs to program, it’s crucial to program them all in one session. Many car systems will erase the memory of previously programmed fobs when a new one is programmed. Therefore, if you have more than one key fob, repeat steps 1 through 4 for each additional fob immediately after successfully programming the first one. Work quickly and efficiently between fobs to avoid timing out the programming mode.
Step 6: Final Verification
After programming all desired key fobs, perform a final test on each one to ensure they are all working correctly. Walk around your car and test the lock, unlock, and trunk release functions (if applicable) on each fob. Hearing the car locks respond to each key fob confirms that the programming process was successful for all remotes.
Important Considerations and Troubleshooting
- Consult Your Owner’s Manual: We cannot stress this enough. The steps outlined here are a general guide. Your car’s manual is the definitive source for the correct programming procedure for your specific vehicle.
- Timing is Key: Key fob programming often requires precise timing between steps. Follow the instructions in your manual closely and execute each step promptly.
- Battery Condition: Ensure the batteries in your key fob are fresh and functioning correctly. A low battery can sometimes interfere with the programming process.
- Programming Mode Limitations: Some car models may require special equipment or diagnostic tools to enter programming mode, especially for security reasons. If the general method doesn’t work, and your manual suggests a more complex procedure, it might be time to consult a qualified automotive locksmith or dealership.
- Troubleshooting: If you encounter issues, re-read your owner’s manual carefully and try the process again, paying close attention to timing and button presses. If problems persist, professional assistance might be necessary.
Conclusion
Reprogramming your car’s keyless remote can often be a straightforward process you can accomplish yourself. By following these general steps and, most importantly, consulting your vehicle’s owner’s manual for specific instructions, you can regain control of your key fob functions and enjoy the convenience they provide. However, remember that car technology varies widely, and for some vehicles or persistent issues, seeking help from a professional locksmith or your car dealership is the most reliable solution. Enjoy the renewed convenience of your programmed keyless remote!