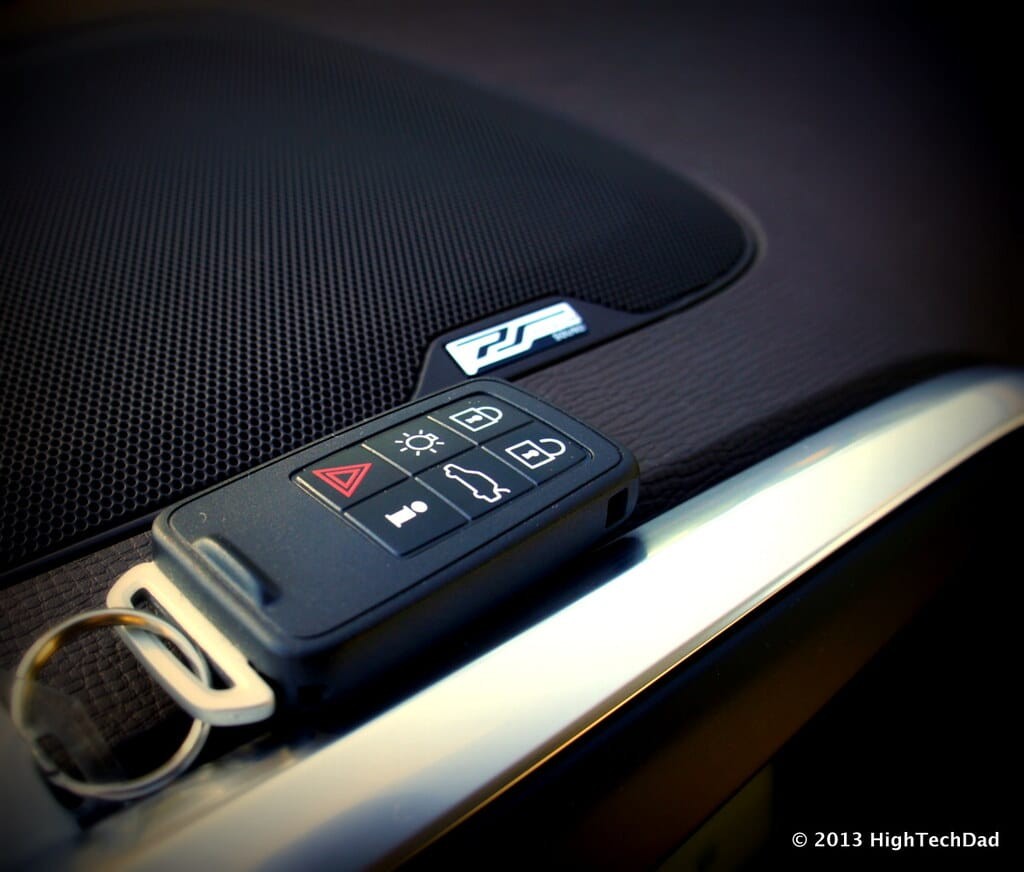
Car key fobs are more than just convenient; they are essential for modern vehicle operation, offering remote access to door locks, alarms, trunks, and even ignition from a distance. These electronic devices, however, can sometimes lose their programming due to signal issues or battery changes. Fortunately, reprogramming your car’s fob is often a straightforward process you can handle yourself, potentially saving you the cost of an automotive locksmith. This guide will walk you through the general steps to reprogram your car key fob, ensuring you regain control of your vehicle’s keyless entry system.
Before you begin, it’s crucial to understand that while many cars follow similar programming procedures, specific steps can vary significantly between manufacturers and models. Therefore, consulting your vehicle’s owner’s manual is always the best first step. You can usually find detailed instructions specific to your car model there, or a digital version online if you no longer have the physical manual.
While the exact process can differ, here are the general steps commonly used to program a car key fob:
Steps to Program Your Car Fob
Step 1: Get Ready in the Driver’s Seat
Begin by sitting in the driver’s seat of your car. Ensure all doors are completely closed. Have your ignition key and the key fob you wish to program readily available.
Step 2: Turn the Ignition to ‘On’
Insert your car key into the ignition. Turn the key to the ‘on’ position, which is the position just before you would start the engine. The dashboard lights should illuminate, but do not start the engine.
Step 3: Press the ‘Lock’ Button on the Fob
Take your key fob and aim it towards the car’s transmission receiver. This is often located in the front of the car, near or above the rearview mirror. Press and hold the ‘lock’ button on the fob for a few seconds.
Step 4: Turn the Ignition Off
Quickly turn the ignition key back to the ‘off’ position, effectively shutting down the car’s electrical system without starting the engine. It’s important to perform this step relatively quickly after pressing the lock button. This action prompts the car’s system to recognize and reset the key fob commands.
Step 5: Test the Key Fob
After removing the key from the ignition, test the newly programmed fob. Press the ‘lock’ or ‘unlock’ button to see if the car responds. You should hear the car locks engage or disengage, indicating a successful programming.
Programming Additional Key Fobs
If you have multiple key fobs to program, it’s essential to repeat the process immediately for each additional fob. Many car systems are designed to erase the memory of previously programmed fobs when a new one is programmed. This means you need to program all your fobs in one session.
Repeat steps 2 through 4 for each additional key fob right after programming the first one. Avoid delays between programming each fob to ensure the process is successful. If there are pauses, you might need to restart the entire process, as some car models may exit the programming mode.
Final Steps and Considerations
After programming all your fobs, it’s a good practice to test each one to confirm they are all working correctly. Listen for the sound of the car locks activating for each fob as confirmation of successful programming.
Remember, these steps are a general guide and might not work for every vehicle. Always prioritize consulting your car’s user manual for the most accurate and specific instructions for your car model. If you encounter difficulties or your car requires a more complex programming method, it may be necessary to seek assistance from a qualified automotive locksmith or dealership. They possess specialized tools and knowledge to handle more intricate key fob programming scenarios.

