Many drivers feel uncertain when it comes to car maintenance tasks, especially checking their car’s oil. But understanding how to check your oil level is a crucial part of vehicle upkeep and can save you from potential engine troubles down the road. This guide will walk you through the process of manually checking your car’s oil, a skill every car owner should know.
While modern vehicles often come equipped with digital dashboard monitors that conveniently display your oil status, knowing how to perform a manual check is still essential. Whether you prefer the hands-on approach or want to double-check your digital readings, this step-by-step guide provides the general process for most vehicles. Remember, for the most accurate instructions specific to your car, always refer to your owner’s manual.
Step-by-Step Guide to Checking Your Car Oil Manually
-
Gather Your Supplies: Start by having a rag or paper towels ready. Checking your oil can sometimes get a little messy, and having these handy will help keep things clean.
-
Park on Level Ground: Ensure your car is parked on a flat, level surface. This is important because an uneven surface can lead to an inaccurate oil level reading.
-
Engine Condition: Turn off your engine and allow it to cool down. A cold engine is generally recommended for safety, preventing burns from hot engine components. However, some car manufacturers advise checking the oil when the engine is warm. Consult your owner’s manual to determine the best approach for your specific vehicle.
-
Locate the Dipstick: Open your car’s hood and find the oil dipstick. It’s typically easy to spot, usually having a brightly colored handle – often orange or yellow – for quick identification.
-
Initial Dipstick Removal and Wipe: Pull the dipstick out completely from its tube. Use your rag or paper towel to wipe off any oil from the dipstick. This initial wipe ensures a clean reading when you re-insert it.
-
Re-insert and Remove Again: Push the dipstick back into its tube until it’s fully seated. Then, pull it out once more. This second removal is to get an accurate reading of the current oil level.
-
Read the Oil Level: Carefully examine the end of the dipstick. Every dipstick is designed to indicate the correct oil level, but the markings can vary. Common markings include:
- Two Pinholes: The oil level should be between these two holes.
- “L” and “H” Markings: These stand for “Low” and “High.” The oil level should be somewhere between these letters.
- “MIN” and “MAX” Markings: Similar to “L” and “H,” these indicate the minimum and maximum acceptable oil levels.
- Crosshatched Area: If your dipstick has a crosshatched area, the oil streak should fall within this zone to indicate a proper oil level.
If the oil streak on the dipstick is between the designated marks or within the crosshatched area, your engine oil level is generally good. However, if the oil level is below the low mark or minimum line, it’s time to add more oil.
 Car owner checking engine oil level with dipstick for routine vehicle maintenance
What to Do If Your Car Oil is Low
Whether your car’s dashboard alerts you or your manual dipstick check reveals a low oil level, it’s important to address this promptly. When adding oil, always use the correct grade recommended by your vehicle manufacturer. This information is usually found in your owner’s manual or sometimes printed on the oil filler cap. Common oil grades include 0W-20 or 5W-30, but it’s crucial to use the specific type for your car to ensure optimal engine performance and longevity. If you are unsure about the correct oil grade, consulting your owner’s manual or visiting a trusted service center like Jiffy Lube® is advisable. Trained technicians can quickly access this information and guide you.
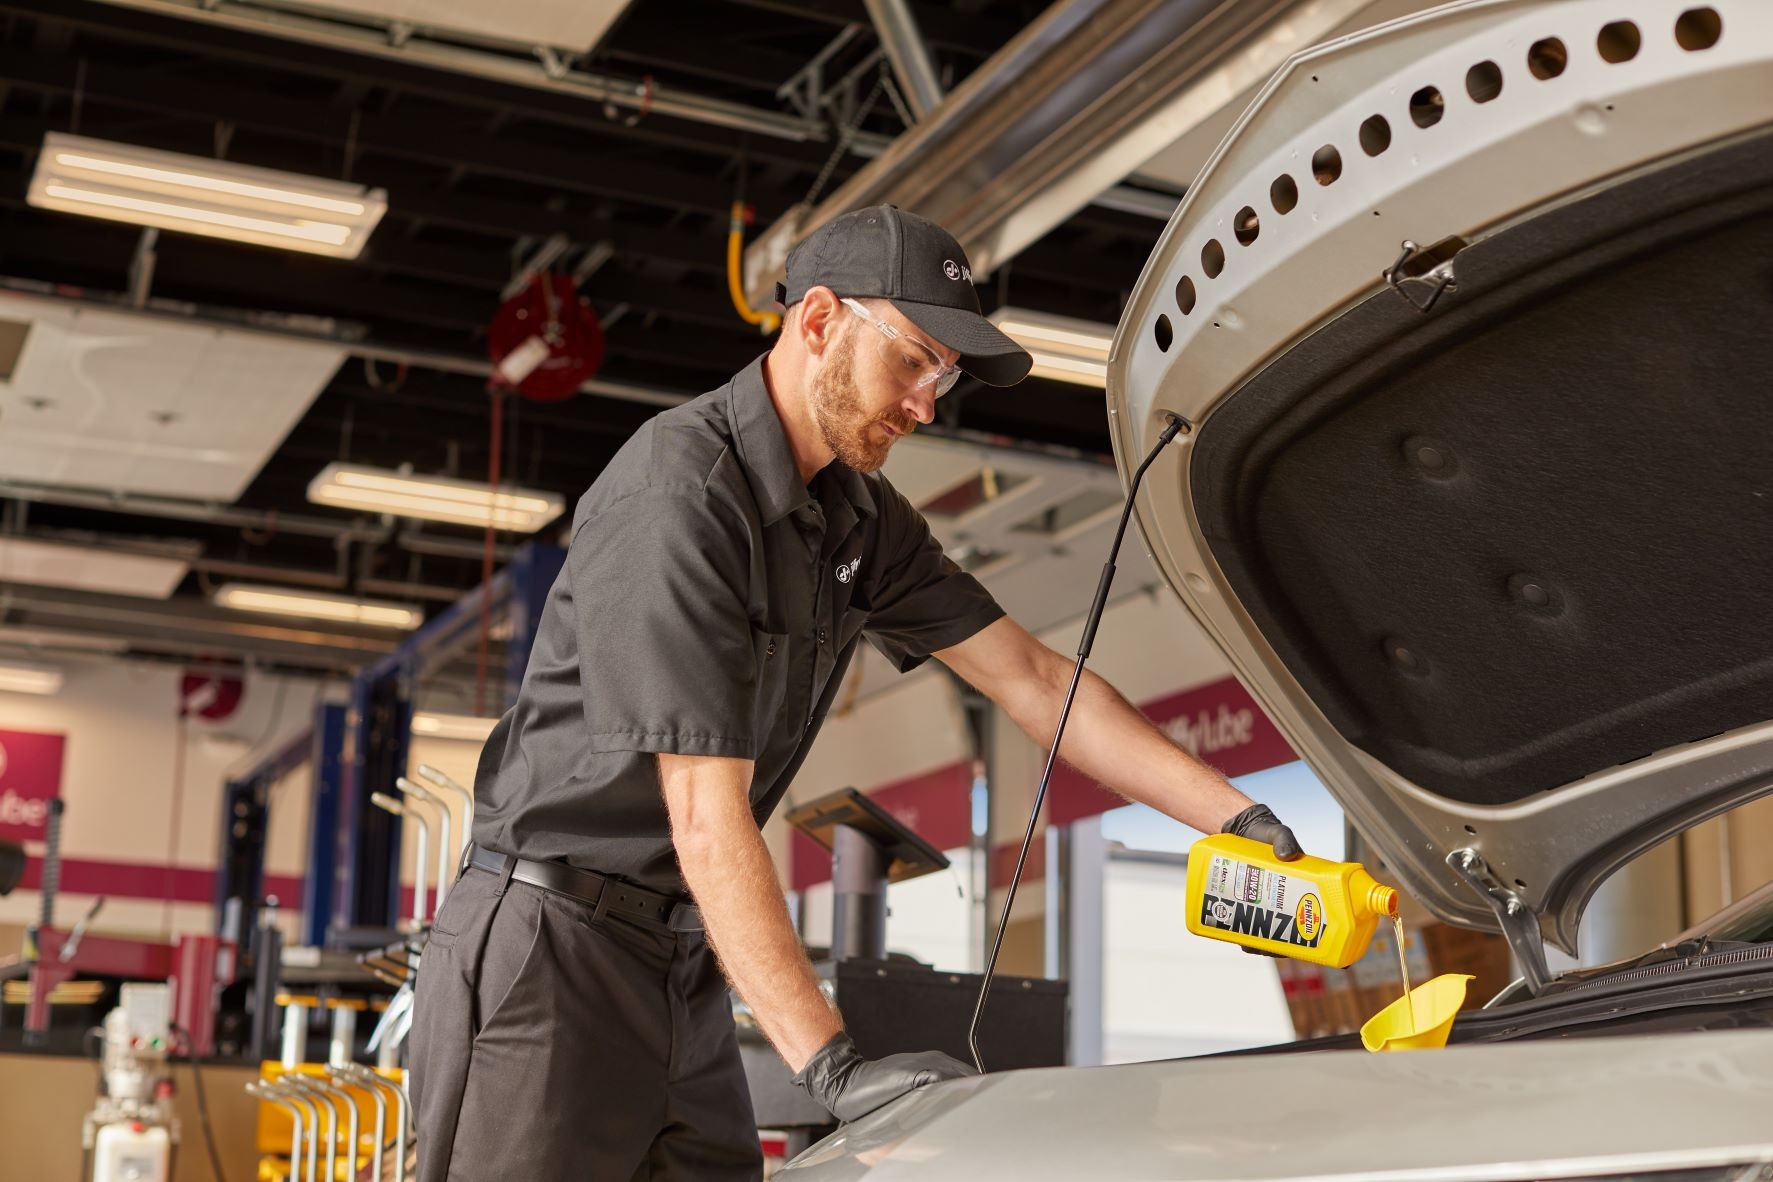
How to Safely Add Oil to Your Car
If you need to add oil, follow these steps carefully to avoid spills and engine damage:
-
Prepare for Adding Oil: Have a funnel ready to prevent spills and locate your car’s oil filler cap. This cap is usually on top of the engine and clearly marked with an oil can symbol or words like “oil” or “engine oil.”
-
Remove the Oil Filler Cap: Unscrew and remove the oil filler cap. Place it in a safe spot where it won’t get dirty.
-
Add Oil Gradually: Carefully pour oil into the filler opening using the funnel. Add oil in small increments to avoid overfilling, which can be as detrimental to your engine as underfilling. Start by adding about half a quart (approximately 16 ounces).
-
Re-check the Dipstick: Wait for a minute to allow the oil to settle and then check the dipstick again, following the steps outlined earlier.
-
Add More Oil if Needed: If the oil level is still below or near the minimum mark, add the remaining half of the quart or a bit more, as needed, to reach the correct level. Check the dipstick again after each addition.
-
Replace the Filler Cap: Once the oil level is correct, securely replace the oil filler cap.
When Should You Check Your Car Oil?
Regular oil checks are a vital part of routine car maintenance. Make it a habit to check your oil level regularly. A good guideline is to check it at least once a month or before embarking on any long trips. Some drivers even make it a practice to check their oil after every two or three fuel fill-ups. Consistent oil level checks, combined with regular oil changes, are key to maintaining your engine’s health and preventing premature wear.
Professional Oil Services
If you prefer not to check your oil yourself or want the assurance of a professional inspection, Jiffy Lube® is ready to assist. Visiting a local Jiffy Lube® location offers the convenience of having trained technicians:
- Check your oil level accurately.
- Explain your oil service options clearly.
- Recommend the best motor oil based on your driving habits and vehicle manufacturer specifications.
- Advise whether you need a complete oil change or simply a top-off.
Furthermore, with every Jiffy Lube Signature Service® Oil Change, you receive complimentary fluid top-off services for essential fluids between scheduled visits within 3,000 miles of your last service.
The Importance of Regular Oil Changes
Understanding how to check your car’s oil is empowering, but don’t forget the importance of regular oil changes. Engine oil degrades over time and use, losing its effectiveness in lubricating and protecting engine parts. Regular oil changes, as part of preventive maintenance, are crucial for preventing engine wear and ensuring your vehicle runs smoothly for years to come. Learn more about why oil changes are so important and the potential consequences of neglecting them to maintain your car in top condition.