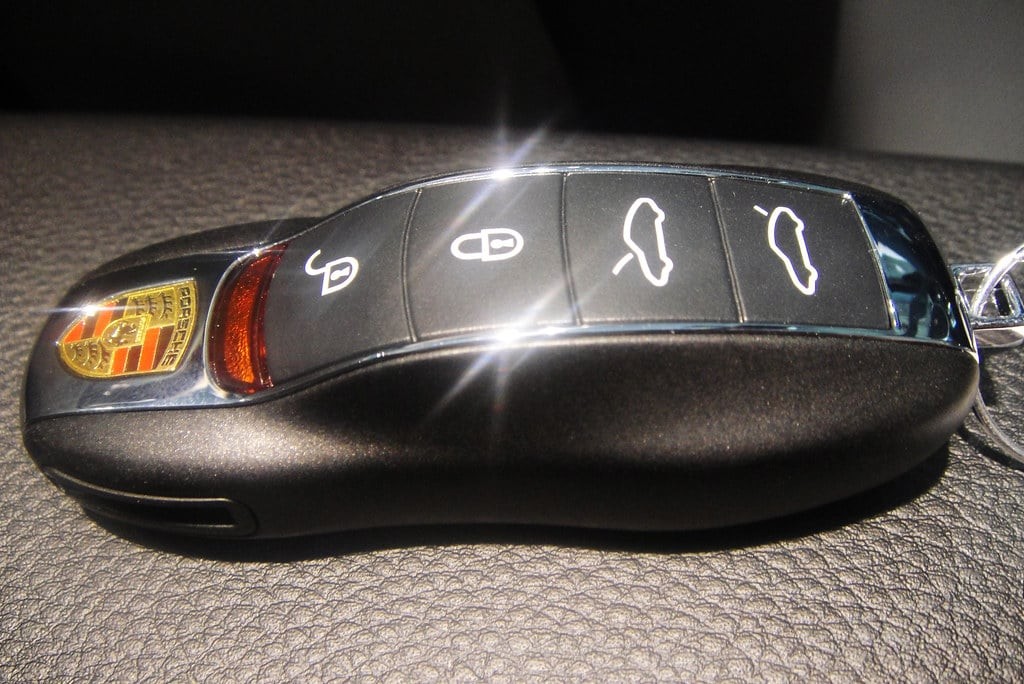
Remote car keys, or key fobs, have become indispensable for modern vehicle owners. They offer convenient control over your car’s locking system, alarm, trunk, and even ignition from a distance. However, these electronic devices can sometimes lose their programming due to signal issues or battery changes. Fortunately, in many cases, you can reprogram your key fob yourself without the need for a professional locksmith. This guide will walk you through the general steps on how to program your remote car key, empowering you to regain control and save on potential service fees.
It’s crucial to understand that while the following steps provide a general approach, specific procedures can vary significantly depending on your car’s make, model, and year. Always consult your vehicle’s owner’s manual for the most accurate and manufacturer-recommended instructions for programming your key fob. You can often find a digital version of your manual on the manufacturer’s website if you’ve misplaced the physical copy.
Let’s explore the typical steps involved in programming a car key fob:
 Car key fob programming process
Step 1: Prepare and Enter Programming Mode
Begin by getting into the driver’s seat of your car, ensuring all doors are completely closed. Have both your ignition key and the key fob you intend to program readily available. The first key, the ignition key, is usually the physical key that starts your car. The key fob is the remote control device.
Insert your ignition key into the ignition switch. Turn the key to the “ON” position. This is the position right before you would crank the engine to start. Do not start the engine. The “ON” position activates the car’s electrical system.
Step 2: Initiate the Lock Button Sequence
Once the ignition is in the “ON” position, locate the lock button on your key fob. Point the key fob towards the front of your car, specifically in the area of the rearview mirror. This is often where the receiver for the remote locking system is located within the vehicle.
Press and hold the “lock” button on the key fob for a few seconds. The duration may vary, but generally, holding it for 2-3 seconds should be sufficient to transmit the programming signal.
Step 3: Cycle the Ignition and Reset
After pressing the lock button, quickly turn the ignition key from the “ON” position back to the “OFF” position. Remove the key entirely from the ignition switch. This action signals the car’s computer to recognize the programming attempt.
It’s important to perform these steps relatively quickly. A short pause of a few seconds between turning off the ignition and proceeding to the next step is usually necessary for the car’s system to reset and prepare for the next command.
Step 4: Program Additional Key Fobs (If Necessary)
If you have multiple key fobs to program, this is the stage to do so. Many car systems, when reprogrammed, will erase the memory of previously programmed fobs. Therefore, you need to reprogram all fobs you intend to use during this session.
Repeat steps 2 and 3 for each additional key fob you wish to program. After turning off the ignition from programming the first fob, immediately proceed to press the lock button on the next fob, and then turn the ignition off again. Maintain a quick pace between programming each fob to ensure the car’s system remains in programming mode.
Important Note: Delays between programming steps can cause the process to fail. If you experience issues, you may need to repeat the entire cycle, possibly multiple times, to re-enter the programming mode. Programming all your key fobs in one go, without significant pauses, is generally recommended.
Step 5: Test the Programming
After you have completed the programming steps for all your key fobs, it’s time to test if the process was successful.
Re-insert the ignition key and turn it to the “ON” position (without starting the engine). Press the “lock” button on the first key fob you programmed. Listen carefully for the sound of the car’s door locks engaging or disengaging. This audible confirmation usually indicates a successful programming.
Repeat this testing process for each of your programmed key fobs, pressing the “lock” button and listening for the lock confirmation after each press. Successful lock sounds for each fob confirm that they have been correctly programmed.
Conclusion
Programming your remote car key can often be a straightforward process that you can accomplish yourself by following these general steps. However, remember that these are generalized instructions. Always prioritize consulting your vehicle’s specific owner’s manual for the most accurate and effective method tailored to your car’s make and model.
By understanding the general procedure and consulting your vehicle’s documentation, you can confidently attempt to program your remote car key, saving time and money while regaining convenient access to your vehicle’s remote functions. If you encounter difficulties or your manual suggests a different procedure, consider consulting a qualified automotive locksmith or your car dealership for assistance.