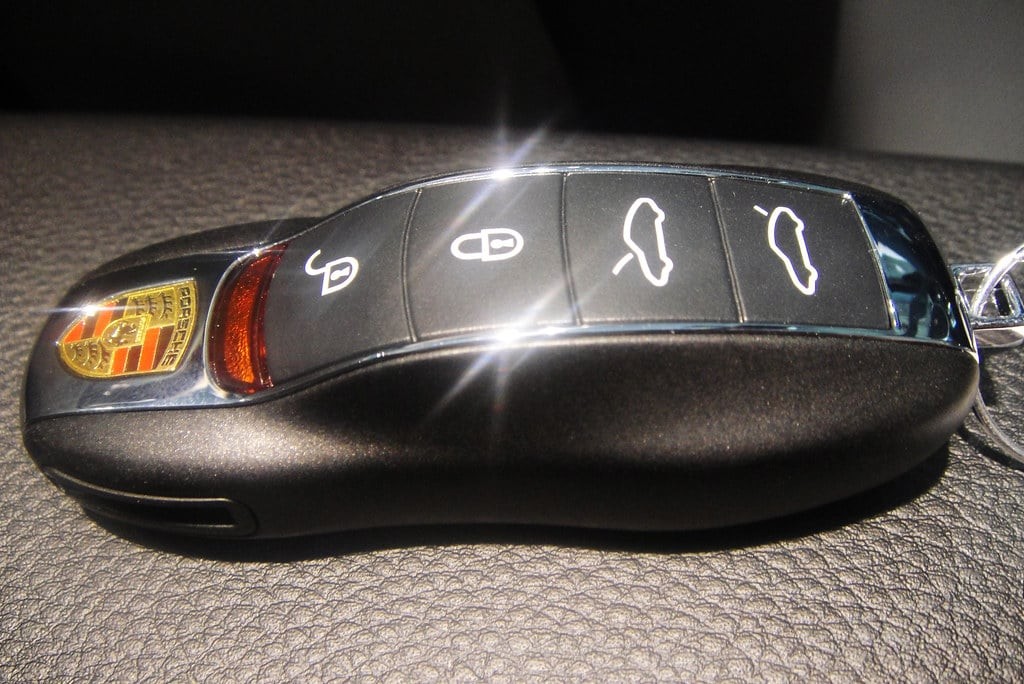
Car remotes, also known as key fobs, have become indispensable for modern car owners. They offer convenient control over your vehicle’s doors, alarm system, and even ignition from a distance. However, these electronic devices can sometimes lose their programming due to signal issues or battery changes. Fortunately, in many cases, you can reprogram your car remote yourself without needing to visit a dealership or call an expensive locksmith.
This guide provides a general step-by-step approach to programming your car remote. While the exact process can vary slightly depending on your car’s make and model, these instructions will cover the most common methods and equip you with the knowledge to get your key fob working again.
 Car Remote Programming Steps
Understanding the Basics of Car Remote Programming
Before diving into the steps, it’s crucial to understand that car remote programming essentially involves syncing your key fob’s signal with your car’s receiver. This receiver is typically located within the car’s computer system. The programming process puts your car into a “learning mode,” allowing it to recognize the unique signal from your key fob.
General Steps to Program Your Car Remote
While specific instructions may differ, here are the common steps involved in programming a car remote. Always consult your vehicle’s owner’s manual for the most accurate and model-specific instructions.
Step 1: Prepare to Program – Get Inside Your Car
Sit in the driver’s seat of your car and ensure all doors are completely closed. Have your ignition key and the car remote you wish to program readily available. It’s often recommended to have all the remotes you want to use programmed at the same time, as reprogramming one remote can sometimes erase the memory of others.
Step 2: Ignition Cycle and Button Pressing Sequence
This step is where the programming magic happens, and it often involves a specific sequence of turning the ignition key and pressing buttons on your remote.
- Insert the Ignition Key: Place your car key into the ignition.
- Turn to the “ON” Position (Without Starting the Engine): Turn the key to the position just before you would crank the engine to start. This position activates the car’s electronics. Do not start the engine.
- Press and Hold the “Lock” Button on the Remote: Aim the remote towards the front of the car, often near the rearview mirror where the receiver might be located. Press and hold the “lock” or “unlock” button on your key fob for a few seconds (typically 1-2 seconds). Some vehicles may require pressing other buttons or a combination – again, check your manual.
- Turn the Ignition “OFF”: Quickly turn the ignition key back to the “OFF” position and remove the key.
Step 3: Test the Remote
After completing the ignition cycle and button sequence, test if the programming was successful. Press the “lock” or “unlock” button on your newly programmed remote. You should hear the car doors lock or unlock, indicating successful programming. Some cars may also provide an audible confirmation like a honk or a visual cue like flashing lights.
Step 4: Program Additional Remotes (If Necessary)
If you have multiple remotes to program, repeat steps 2 and 3 immediately for each additional remote. As mentioned earlier, many car systems will erase previously programmed remotes when a new one is programmed, so it’s best to program all your remotes in one go.
Step 5: Restart and Final Test
After programming all desired remotes, you can restart the process from step 2 with the first remote again to ensure all remotes are correctly programmed. Test each remote one final time to confirm they are all working as expected.
Important Considerations and Troubleshooting
- Consult Your Owner’s Manual: The steps outlined above are general, and the specific procedure can vary significantly between car makes, models, and years. Your owner’s manual is the most reliable source for accurate programming instructions for your specific vehicle. Look for sections on “keyless entry programming” or “remote programming.”
- Listen for Confirmation: Many cars will provide an audible chime, honk, or a visual cue (like flashing lights) to confirm successful programming. Pay attention to these signals.
- Timing is Key: Some programming sequences are time-sensitive. Perform the steps quickly and without pausing for too long between actions.
- Battery Check: Ensure the batteries in your key fob are fresh and properly installed. Low batteries can sometimes cause programming issues.
- Programming Mode Entry: Some vehicles may require additional steps to enter “programming mode” before you can sync the remote. This might involve pressing and holding specific buttons or performing a series of door lock/unlock cycles.
- If It Doesn’t Work: If you follow the steps carefully and your remote still doesn’t program, try repeating the process. If it consistently fails, there might be an issue with the remote itself, the car’s receiver, or a more complex programming procedure is required. In such cases, it’s best to consult a qualified locksmith or your car dealership.
Conclusion
Programming your car remote can often be a straightforward DIY task. By understanding the general steps and, most importantly, consulting your vehicle’s owner’s manual for specific instructions, you can save time and money by avoiding a trip to the dealership or an auto locksmith. However, remember that if you encounter difficulties or are unsure about any step, seeking professional assistance is always a wise decision to avoid potential issues with your car’s security system.